This is a chunky post folks, strap in!
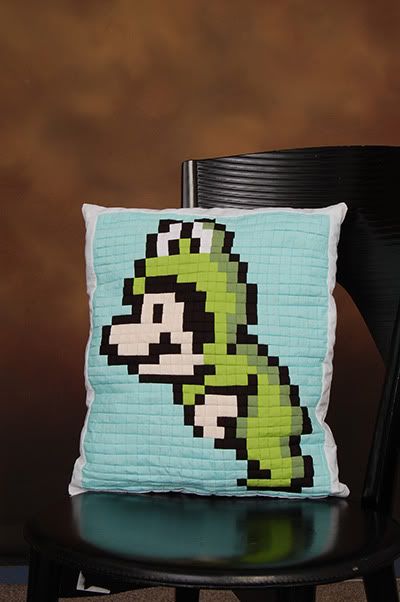
This is one of the biggest undertakings I've done for a swap. This is a revised method to the Megaman Pillow I made for my boyfriend at Christmas. Instead of taking each square, sewing it to the next one, then the next one, then eventually forming a row, where you would then take all the rows and sew them together into columns, pressing open seams each time (
which left a bit of a messy look through the semi-translucent fabric), THIS TIME I used fusible web.
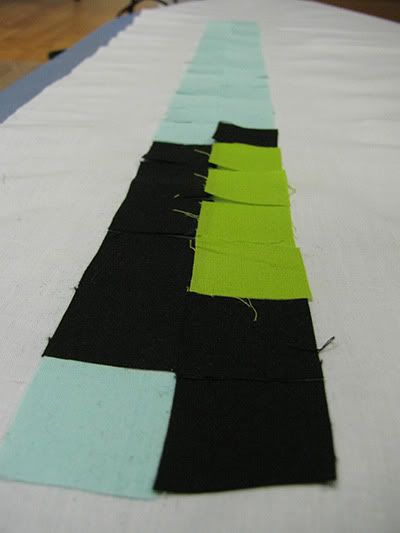
For this method, I would line up my squares the way I was going to place them, just like before. But instead of sewing one by one, I got a big piece of white fabric, and I stuck them down on it with the fusible web and an iron. After they were all ironed, I did ONE LONG SEAM across each row, and then when those were all done, I did ONE LONG SEAM along each column.
This meant four key differences in result:
-The fabric wasn't see-through because it had a white backing
-It was SO MUCH FASTER
-It was stronger
-It looked infinitely tidier.
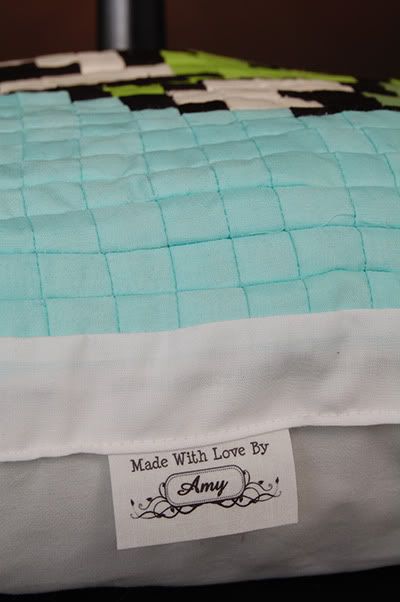
After I had all of this done, I gave him a border, added a back-side, sewed&stuffed him up.
All in all, I think I shaved off a 1/4 of the time that I spent on the first go-around at this.
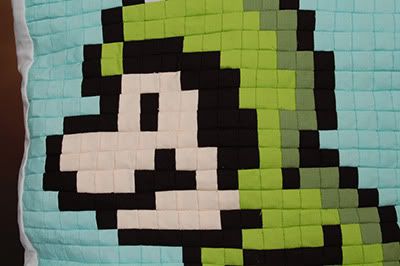
With all that said, I present Mario in his frog suit, in all his pixelated glory!


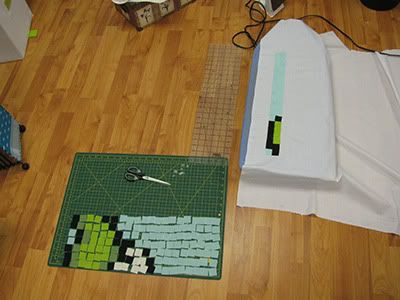
All of these are from my 'in-progress' shots. I made sure to take tonnes this time. I hope anyone attempting this type of project finds them useful. Click thumbnails to enlarge.
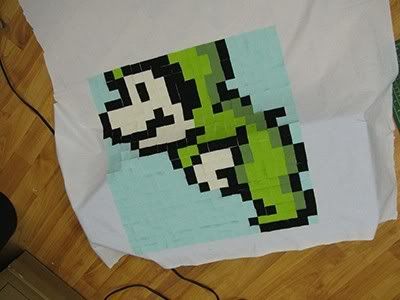
Layin' out the pieces.


I've been using fusible web and ironing each piece down to the white backing.

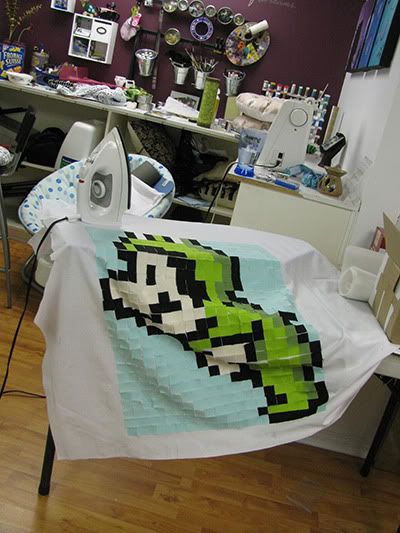
It's uh... pretty freakin' huge at this point. Don't panic. It's supposed to be.


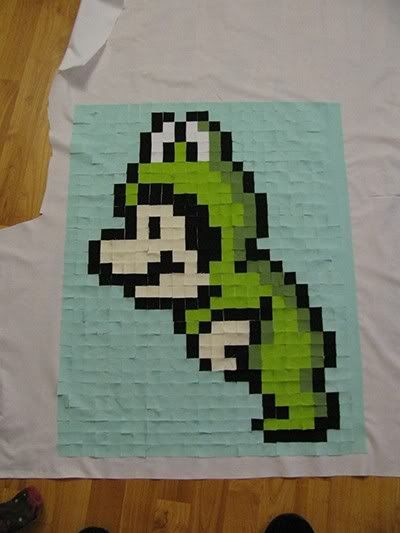
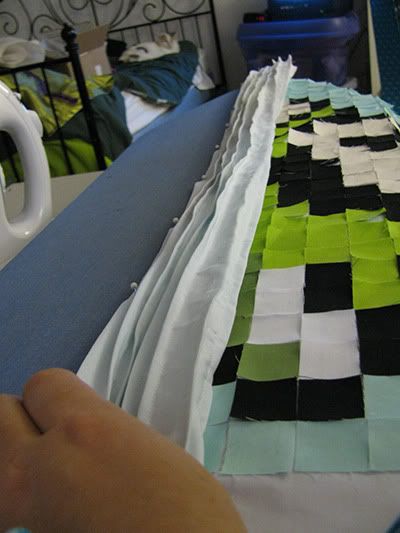
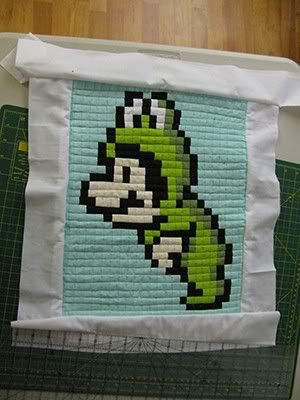
Here I'm starting to sew a seam, row by row, to hide the rough edges. This is where the shrinking starts.

Do everything in one direction first. Don't go one vertical, then horizontal, then vertical, etc. Start either vertical and finish across, or horizontal and finish across.


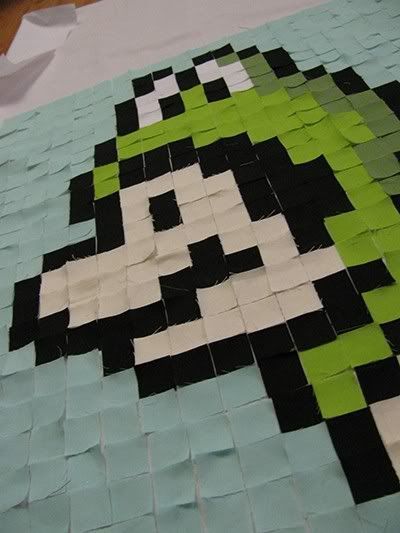
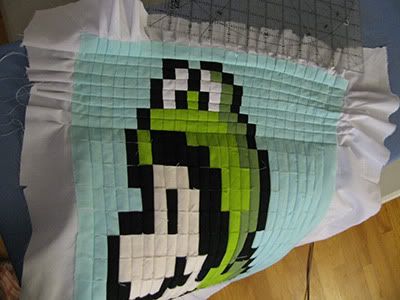
Shrinking! Now that you've gotten everything done one direction, you can go the other way!


Remember how big he was before? This is how much it shrinks!!


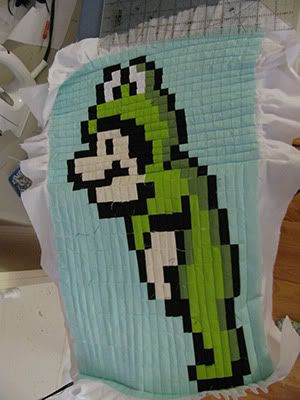
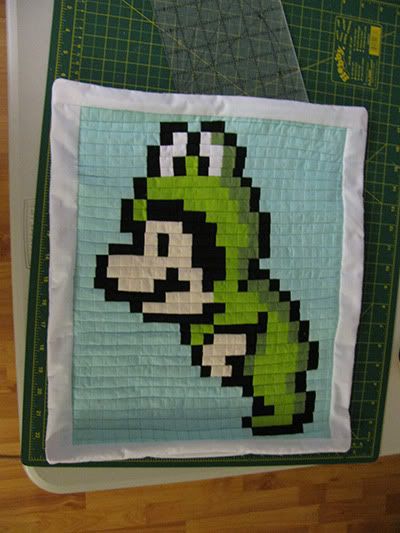
Trim the excess crap from the backing piece and give it a proper, clean looking, formal border.

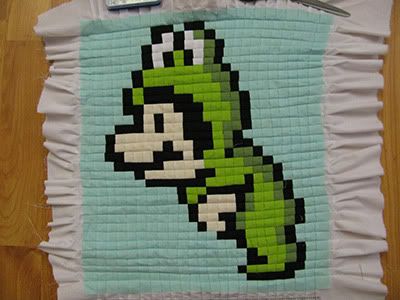
Before Stuffin'.

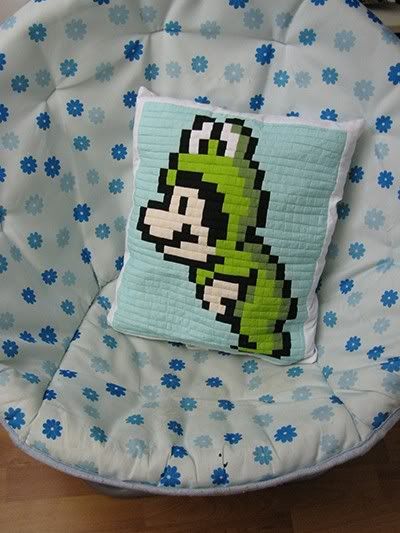
After Stuffin'!

Et Voila! You now have a beautiful pixelated pillow!
I would
LOVE LOVE LOVE to see photos of your project if you make one! It would make me super happy to know that I helped someone get inspired. :o)


