
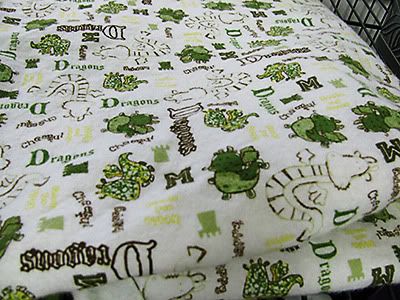
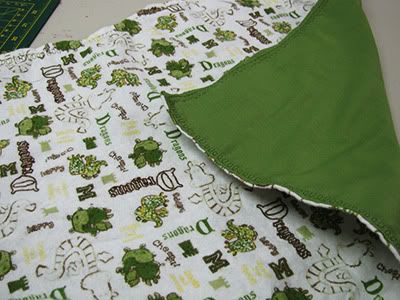
The fabric I chose for the front is 100% cotton. It's a thin flannelette. The back is just done in regular broadcloth.
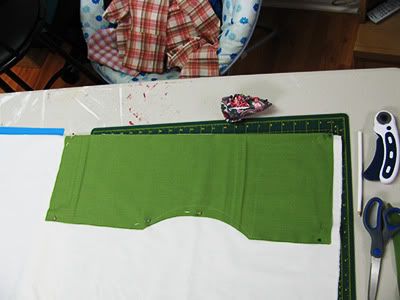
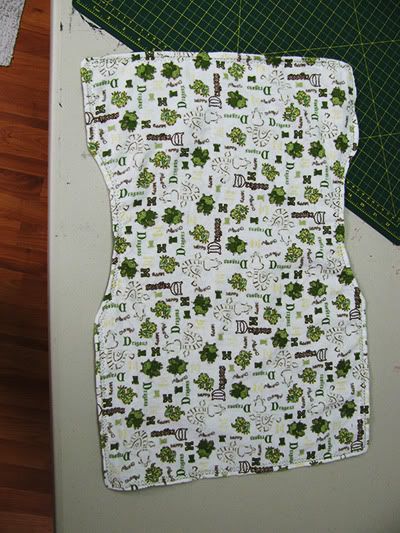
I cut a rectangular piece, and cut a half-circle two thirds of the length up on both sides. This half circle is so the burpee fits comfortably into the groove of the neck without bunching the fabric.
You need two pieces - one front and one back. The two pieces should be equal in every way, and symmetrical down the length.
Match up your pieces pretty-sides together (as we called them in my sewing class when I was a kid! Also known as right-sides facing each other for your more seasoned technical people!) and pin.

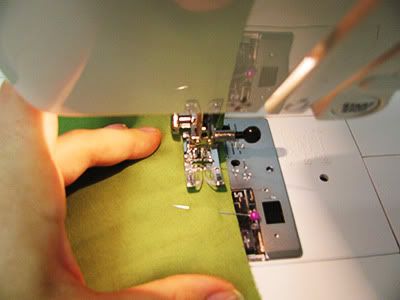
Sew a 2cm seam allowance around the whole thing except for one space at the bottom edge. Be sure to leave this so that you can turn it right side out when you finish!
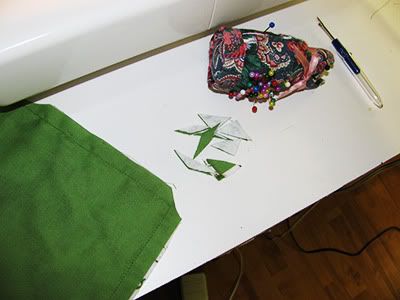
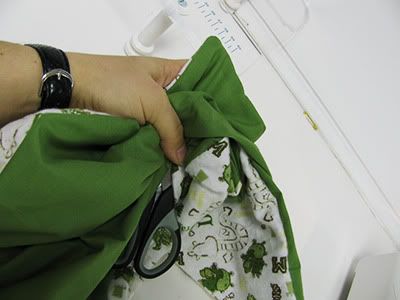
Trim the corners off so that it is not bulky when you flip it. Mind that you do not cut your stitches!
Find the hole you left. Turn it all inside out.
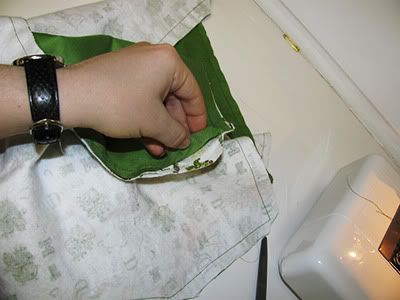
Use something small and blunt to poke your corners and edges to give a finished look. Be gentle, and don't be stupid like me using scissors. I haven't had a problem, but it's just not smart ya know? Scold me later. :oP
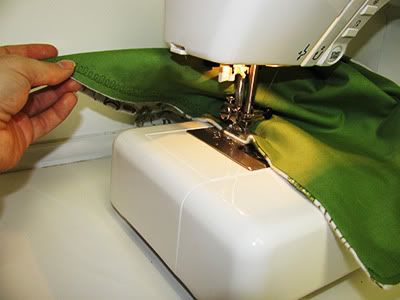
Turn in those edges at your opening inward to match the seam allowance and press with an iron.
Select a nice fancy stitch that you like. I like loopy-loops! Starting with your opening, top stitch all the way around your burpee.
Et voila! A beautiful burpee cute enough for babies to hurl on! ;o)

No comments:
Post a Comment