Showing posts with label other crafts. Show all posts

Tuesday, October 27, 2009

Elephant Jewelry Holder - Tutorial

Hello all! I received very nice feedback about the jewelry holder, so I've decided to post a tutorial so that you can all make your own! :o)


Supplies:
-Wood Block
-Sand Paper
-Screw in Hooks (Can be found at hardware stores)
-Paint
-Beads
-Glue Gun + Glue Sticks
-Ribbon, or fabric to make your own (sturdier)
-finishing nails.

Note:
Any smaller thumbnails can be clicked to be viewed in standard size in a new window.
Read all directions from start to finish before beginning your own set. If you are making more than one block like I did, do each step to each block as you go rather than finishing off one block at a time. It's way faster to do them together!

Hoh-kay! Here we go!


Step One:
Sand your block of wood thoroughly.


Step Two:
Paint a base coat on the wood using primer or acrylic paint. Let dry. Paint your block the background colour of your choice, or if you're using just acrylic paints just do a second coat. For mine, I used two layers of white acrylic paint. Let this dry thoroughly.


Step Three:
Trace an outline of your elephant in pencil very lightly. This will guide you where to paint.


Step Four:
Paint the body of the elephant using acrylics. Let it dry.


Step Five:
Add dimension by using highlights and low lights of the same tone. Add details if you wish. Let it dry between each layer of paint.

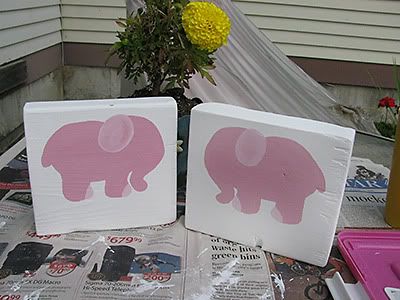
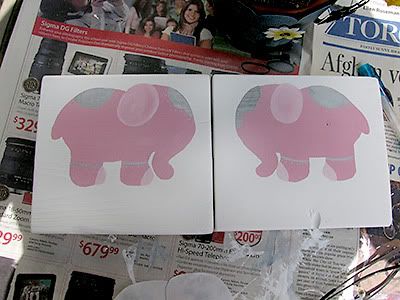


INTERMISSION - Paint drying! Make a snack, fold your underwear, give your kitty a belly rub. Vhat-ehvah!


Step Six:
Okay, so we're leaving the blocks alone for a bit. We'll focus on what will be holding your blocks up. If you are using ribbon, pick a strong type. Don't use anything flimsy or too thin.

If you are sewing your own, pick a fabric and cut it to a width 4X the finished size. Cut the length based on the size of your block. Make it a minimum of 25cm longer than the perimeter (so that you have extra length to hang it). Press in the raw edges to the middle, then fold in half so they are trapped inside. Stitch down to finish. Use a decorative stitch like I did if you're feeling fancy!


Step Seven:
Place your ribbon around your block to decide how long you want it. Stitch ribbon ends together at the top once you have settled on a length. Then set aside.


Step Eight:
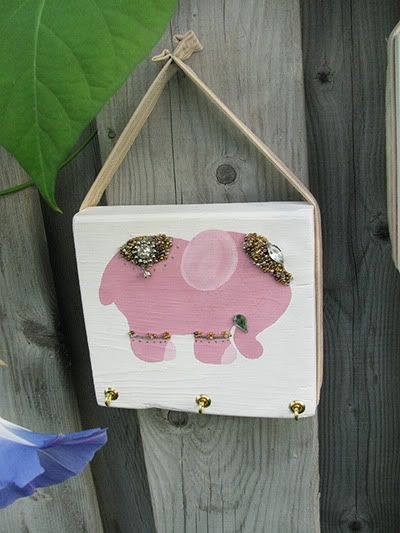
Now that your paint is completely dried, heat up your glue gun. Glue down little beads or embellishments to make your design pop! I use itty bitty seed-beads, which can be a real pain and take a long time. But they look fabulous in the end! I also used a few extra gems that can be found at any standard craft store (but I got mine off of shoes that had no match! haha!)


Step Nine:
Now that your beads are firmly in spot, we're going to attach the ribbon. Line it up carefully, and before gluing try leaning it on the wall. You'll notice my ribbon isn't centre - it's lined up at the back. This was important because for me it was more balanced in this spot. So it's worth saying again, check before affixing! Once steady, use the glue gun to hold 'er down.


Step Ten:
Use those finishing nails near the top for extra stability. One on each side of the block, right through the ribbon.


Step Eleven:
Screw in your hooks. I used three on each, you can do whatever you like! Consider the jewelry that you'll be hanging and how much space between you need.


Tadaaaaa! You're done! Yay! Now you're ready to hang them up and to keep those necklaces tangle free and organized! Your elephants will feel so pretty! ;o)


Friday, October 23, 2009

IYP Swap - Jenicat

This swap was from the summer. I made Jenicat two dresses and two jewelry hangers. She made me a necklace and a fabric bowl, and also bought me a little wine bottle carrier (which is great for taking my water bottle to the gym!)

Here's what I sent Jenicat:

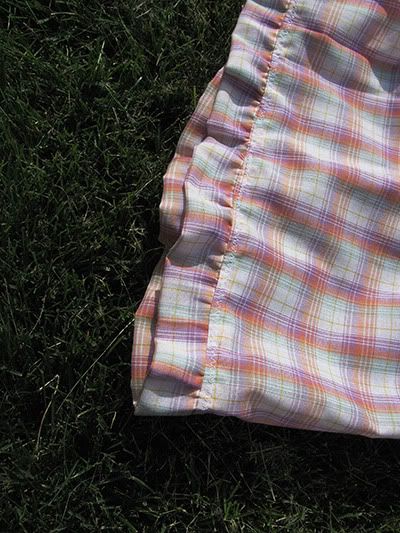
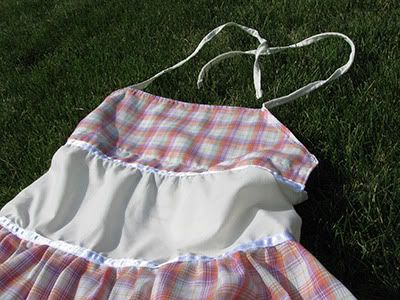
A dress for her two year old. I call it 'the picnic dress'!


Details: I created a ruffled bottom with the same fabric to give it a girly flounce. The top features two rows of satin ribbons, and also a tie around the neck. I neglected to get a shot of the back where I did a square of elastic bunching :o( Oops.


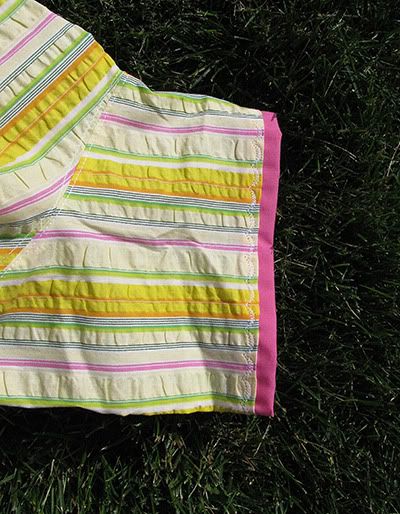
A dress for her five year old. This one I call 'Pink Soda'. hehe!


Details: I used elastic to ruche the waist, and at the sleeve I folded a thin layer of the pink fabric over to add a slight pop of colour and sewed it to the under-side of the hem using a decorative stitch.


I also made her a set of elephant jewelry hangers. I'll do a separate post on them with more details, and a tutorial! :oD Yay!


Here are the items Jenicat made me. The coolest thing EVAH!!! She makes fabric bowls! These are really cool. I actually approached Jenicat because I've seen her talents and wanted one so bad. She was really awesome and said yes! (obviously since I'm posting this!)


She also made me a really nice necklace. And even though every swap I have always said I don't need any more... secretly I love them.


Jenicat had commented that she felt spoiled at what I sent. Maybe I mis-interpreted sizings, or maybe I forgot what sizes we agreed upon. Maybe I just like her that much. Either way, I don't want her to feel bad that my items ended up being bigger in size, because I know we were equal in the love we put into them. I can see that these are quality crafts she made me, and I will treasure them. I would swap again with you anytime Jeni, thanks for being awesome.

Wednesday, June 17, 2009

Angel Swap

I must have completely forgotten to post these projects here! Oh dear!

There was someone who didn't receive a package in a swap, so I sent her a package! It was a childrens swap, so I was making the items for her son. She lives in the UK. She tells me he likes natural things, getting postcards from his Uncle, and hey, what boy doesn't like candy? So this is what I made him...

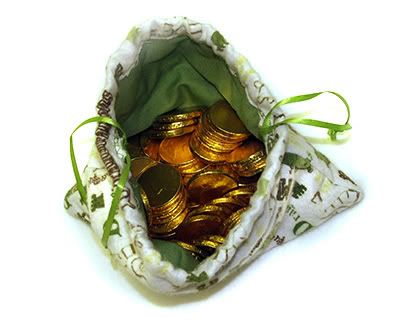
A Dangerous Dragon Drawstring Bag...


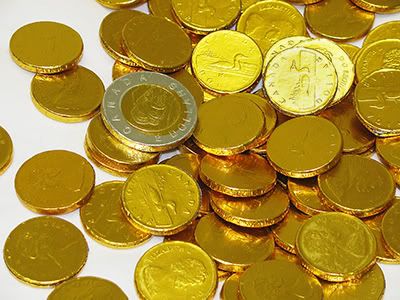
Filled With Canadian Treasure...


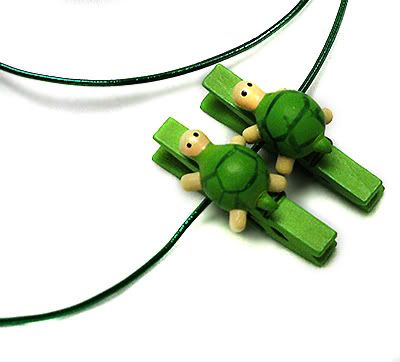
A Line To Hang His Projects On...


A "Cork" Board...


And They're Both Decorated with Turtles!


It would seem that he enjoyed them all! *Ahem* Especially the chocolate treasure! ;o)
Friday, June 5, 2009

Mirror

Well now, I've cleared more than a month of days since my last post! I'll have to end that!

I had promised a part two to my treasure hunt. I found the most tacky, heinous and horrible... and yet simply elegant mirror. It just needed a spruce up!

Before:


After:


BAM!

It's totally nice eh? I love how it looks! I wanted it hanging over the sink in my bathroom, but there is an outlet there and it stuck out... bah! So it's hanging in the bathroom but in a different spot. Looks spiffy! Huttah!

Close Up:

Monday, April 13, 2009

Pin Cushion Swap - PicNick Pincushion for stellaandjim

I've been waiting FOREVER to post these photos!!! I'm so excited that she received her package so that I can put this spoiler up! I finished this Pincushion back in March. I was getting rather excited for spring, and I wanted Stella to have a nice reminder that the season was coming!

The top is a pincushion (recognize the fabric?), and the lid I made for the basket actually flips open to reveal a caddy for miscellaneous sewing doo-dads! The ribbon around it has embroidery of tiny bows to hold it in place. I hot glued it to the side and tied a bow in front. All in all the project took me maybe 1.5 hours, so it would be even quicker the second time around if I were to make another. If anyone is interested in the how to, message me on craftster!

Photobucket

Photobucket

Photobucket

Photobucket

Friday, March 13, 2009

Altoid Tin Swap - Favourite Singer

For this swap my partner was from the UK! The theme was a favourite singer for the altoid tin, plus we were to do an extra.

The person she chose was Robbie Williams. I sent it off yesterday. Here's the set and the tin:


I made a bookmark, and sewed a little pouch. I also included a mirror that matched my black and red theme. :o)


The beading was put on one by one. Glue gun, bead bead bead, glue gun, bead bead bead, etc. It took a while, but it came out EXACTLY how I wanted it to. It looks like he's swimming in sparkles! :o) hehe! I know she'll be thrilled with that.


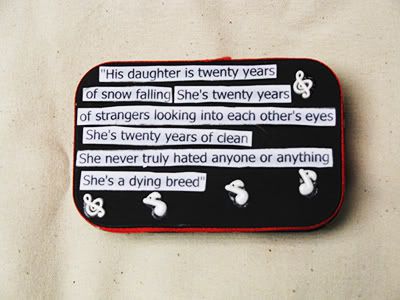
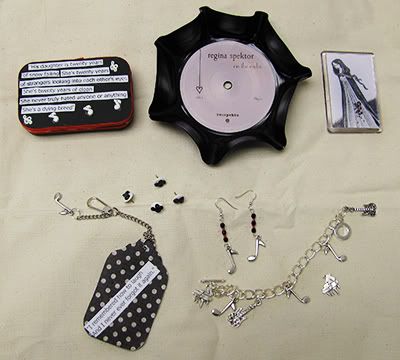
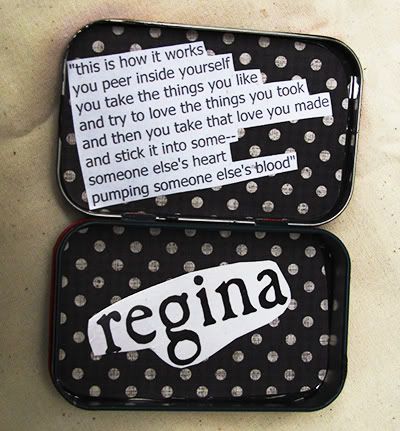
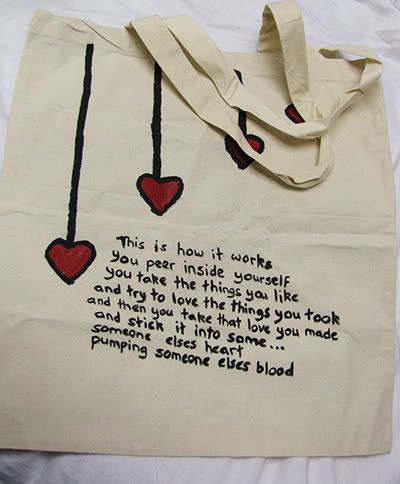
I asked for my tin to be about Regina Spektor. She used quite a few of my favourite lyrics from her songs. Here's the items and tin:


Unfortunately the bracelet was broken, but I should be able to fix it. I like the theme she did, we ended up going with such similar colours! That record bowl is mini and cute, and has already been put to use holding hair pins and bracelets in my dresser.

Monday, February 23, 2009

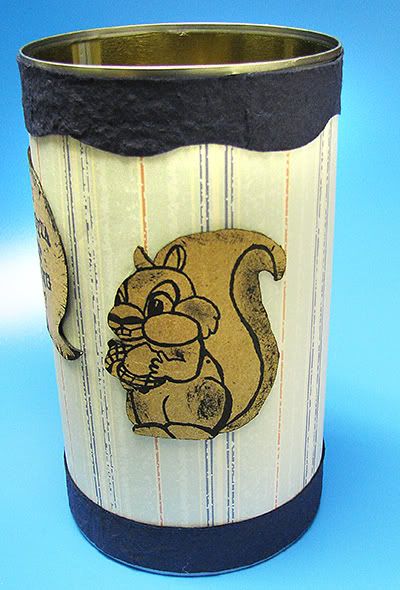
Respected Squirrel v.2

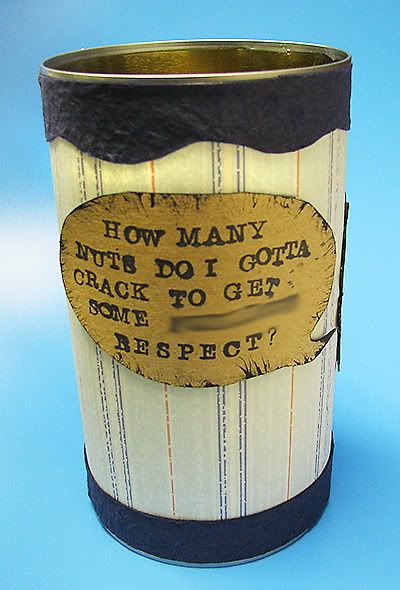
Well, here's the new one! Everything was done the same, except this time I did it all with blue papers instead of pink and purple. Oh - and I bought an ink pad so I don't have to hand paint each letter stamp. It was much faster and looks way cleaner. I think I'm getting into stamps. Lord help me to keep it minimal, it's too expensive to collect stamps.

I like my first version better, but I think that's because I went with colours I found aesthetically pleasing. I must remember to keep others prefrences in mind from now on instead of drifting off. I think she'll love this on the blue!

Photobucket

Photobucket

PS: For anyone curious, I made these using apple juice cans with the top carved off. I have a certain addiction to apple juice... so I kinda have a never ending supply of this type of can.