Showing posts with label swap. Show all posts

Thursday, January 26, 2012

Retro Skirt with Crocheted Accessory

I made this skirt for phnxreign99 in the January Birthday swap!

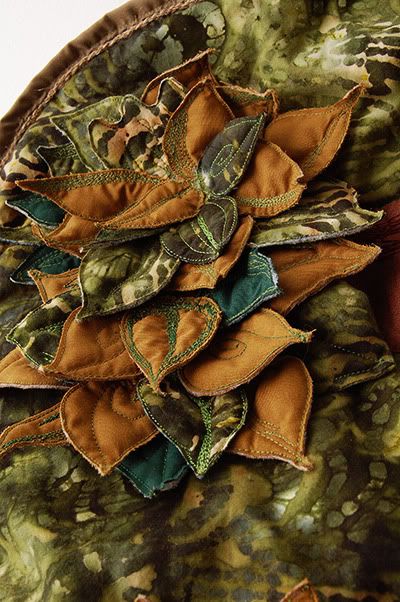
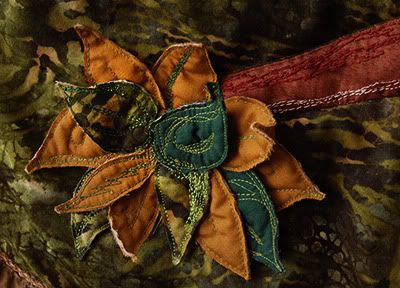
It has a crocheted flower that I made in layers to attatch to the wrap around. The wrap around is bias tape I made out of some quilting cotton.


The skirt is a basic full A-Line skirt with an elastic waist. It has a retro feel I think! :)


Edit: Here's a picture she took of her wearing the skirt!

Wednesday, December 21, 2011

I made this for a swap. Her favourite colours were pink and green. I wanted to incorporate both! I found a fun patterned fabric and made the outside green and the inside pink. So now when you open up the bag it's like biting into a piece of summer. :o)


Just to be funky, I did a little macine ebroidery on the handles to make them pop in that same way as the case.


Yummy! It's matching pattern in a different colour.


And because I don't go half way on anything, I wanted this case to protect the laptop against all lifes foibles. I have chosen an unorthodox source for my padding, but it is so so so strong! (So strong I broke a needle going through it!!)

This is a foam bath mat. I DOUBLED it for the padding (and in the bottom it's triple!)

Tuesday, April 26, 2011

Tattoo Banner

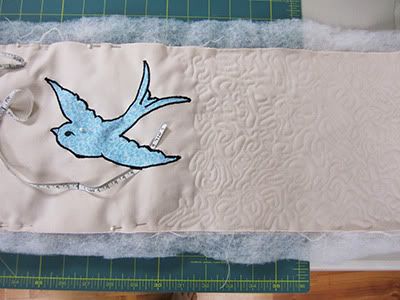
I made this for an art quilt swap. My partner loves tattoos, and I really wanted to reflect this in the banner, plus her love for sewing!


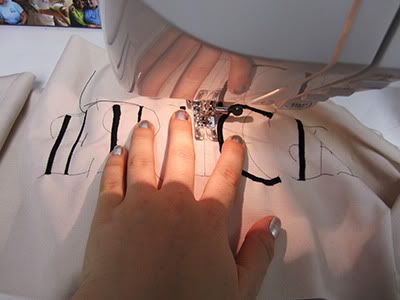
The idea behind the banner comes from Ericas love of tattoos, traditional tattoo designs using swallows, and her love of sewing! My concept is that the birds are creating their own tatoo banner of Ericas name! They're busy making themselves a home nestled in the fabric.

Here's some shots of the process. Click thumbnails to enlarge.


And here are some yummy detail shots!


Tuesday, August 31, 2010

Patchwork Skirt

This was my large item for MareMare in the Make-A-Friend swap. It took a serious amount of time to sew, putting together the layers, and using a gathering technique to get that little ruching effect. I also had to reinforce the stitches after a certain incident... But they're all very strong seams. Vertical and horizontal.

I love the little house on the prairie feel that this has. Kind of a Cutesy-Shabbyness to it.


Monday, July 26, 2010

Travel Kit

I made this travel kit for MareMare. She's my partner in a swap, and about to go on vacation! So it was perfect timing.

The kit includes two luggage tags, a passport jacket, and a little wallet to hold cards. All in a cute matching fabric!


Luggage tags:


Passport jacket with her name stitched into it:


Wallet with room for 6 cards:

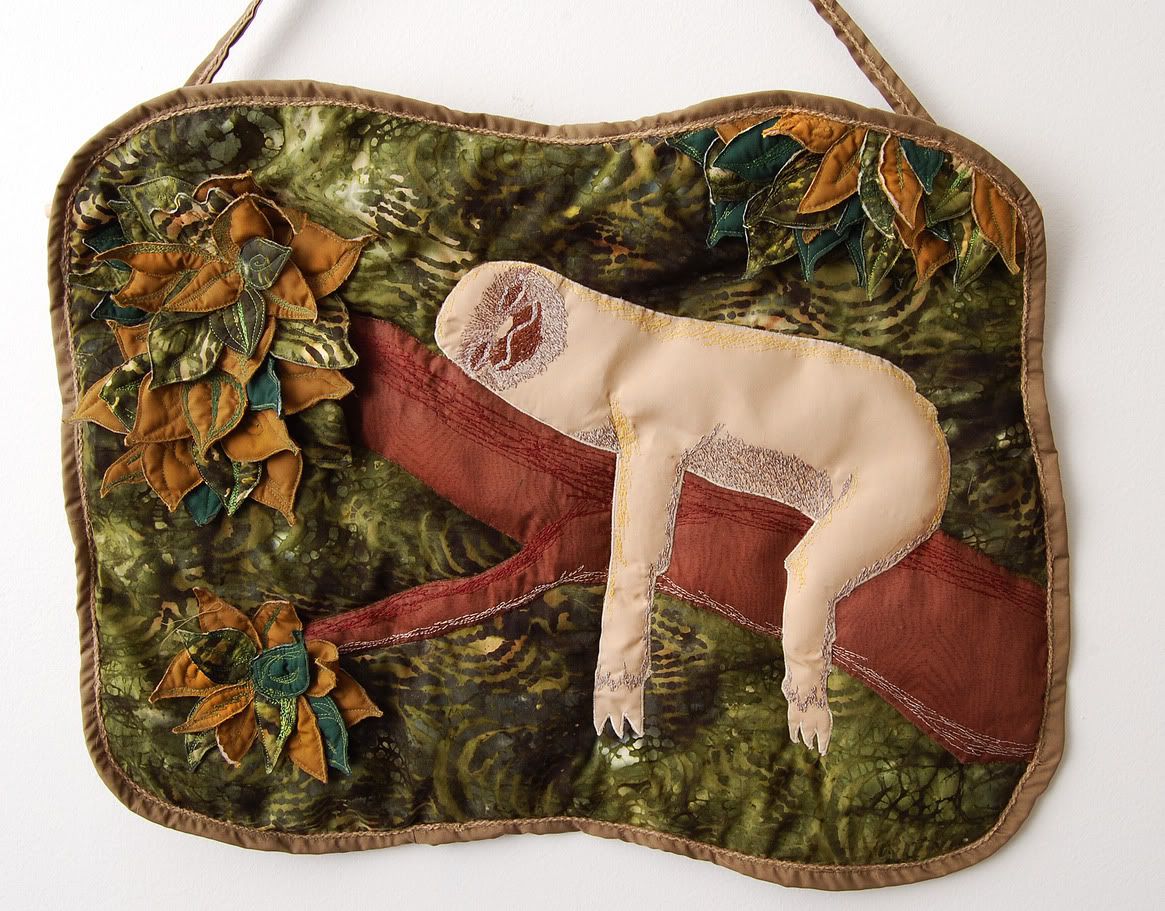
Sloth Art Quilt

Somewhere in the depths of the jungle, the branches climb ever higher.
Reaching towards the sky they compete for the warmth of the sun.
A breeze blows, brushing the leaves side to side.
A heavy, humid, sweet smelling air rustles through the fur of a particularly sleepy fellow...


"Ahhhh, I could lay like this all day!"

(See it big)


Great idea! Let me paint you while you're at it! With thread that is...

This is a close up of his little leg. I used a satin stitch around his outline, and I used a technique called 'thread painting' to do all the shading in there. Basically, I just set the darning foot on it and go all over the place with thread as if I were sketching.

"Pleased to meet you! *shakes paw*"


I did this for the tree as well. I wanted to show a little depth by using a darker and a lighter colour on each side.


His face in close up actually [i]feels[/i] pretty neat to touch. This is all free hand as well. Sometimes I loaded the machine with two threads at once to give him an extra fuzzy layered look. I think it creates the depth that I wanted.

"See, it really does just take eating and sleeping to make a happy life."


All of the leaves are 100% unique - no two are the exact same! Like snowflakes, but in the jungle! ;) They are all quilted to make them extra thick, then I attached them one at a time to give a full layered look.


(Click thumbnails too see larger images)


I wanted to give the sloth and the tree branches a poofy hug-able look, so I used invisible thread to go around them. It's kind of, well, invisible on the front, but you can see the effect from the back.

"HEY! Are you showing them my bum?! You better not be showing them my bum!"


This was definitely a fun project. It was for the Friends of Craftster Wist Swap. My partner Sloth003 named him Monsieur Sloth upon receiving him. It was inspired based on the fact that she obviously loves sloths, and that she had seen a project on here that was art quilt of trees that she really loved. I wanted to create something special, a mascot for her if you will, that she can enjoy as decoration all the time.

I'm starting to notice a theme in art quilts that I've made. The last one was a manatee, this one is a sloth, I wonder if I'm starting to have a certain affection for animals that just don't get enough attention. I kinda like that it's becoming a "thing" that I do. haha!

Anywho, here's Monsieur Sloth again, signing off. Because, well, he's kinda tired from showing off his schmexy lil' bum to all of you!

"Ahhhh, I could lay like this all day!"

(See it big)

Thursday, July 8, 2010

Ni Apron - Version 2

This is the second version of the Nights Who Say Ni! apron. It's got a more square, modern look with straight lines. (The first was rounded and frilly.)


It also has a different design on the pocket! (Which is bigger and in the centre this time.) Notice their revised battle call at the bottom! haha! I love that part.

We are no longer the NIGHTS WHO SAY NI!!

Sunday, June 6, 2010

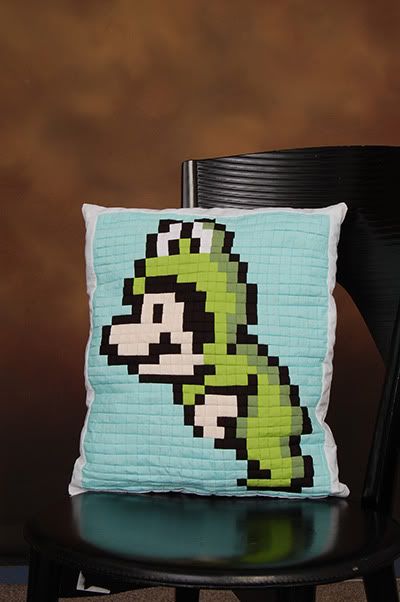
Frog Mario Pillow

This is a chunky post folks, strap in!

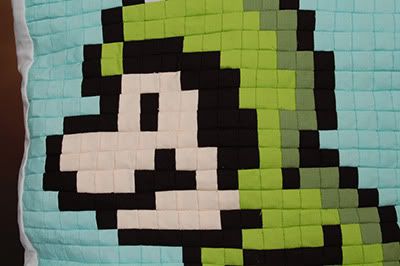
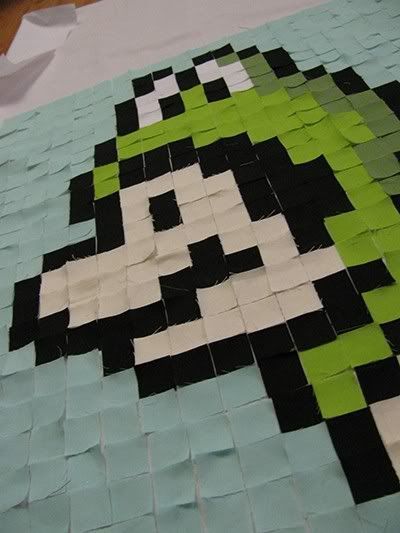
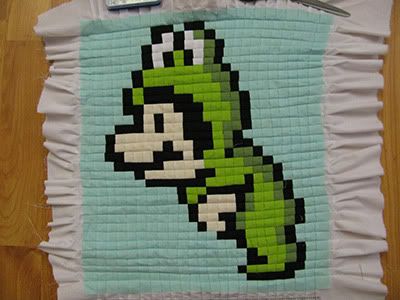
This is one of the biggest undertakings I've done for a swap. This is a revised method to the Megaman Pillow I made for my boyfriend at Christmas. Instead of taking each square, sewing it to the next one, then the next one, then eventually forming a row, where you would then take all the rows and sew them together into columns, pressing open seams each time (which left a bit of a messy look through the semi-translucent fabric), THIS TIME I used fusible web.

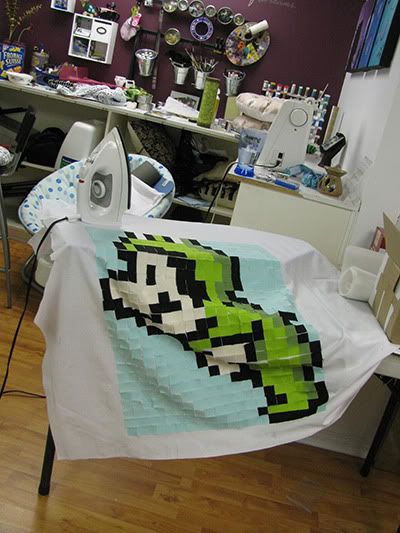
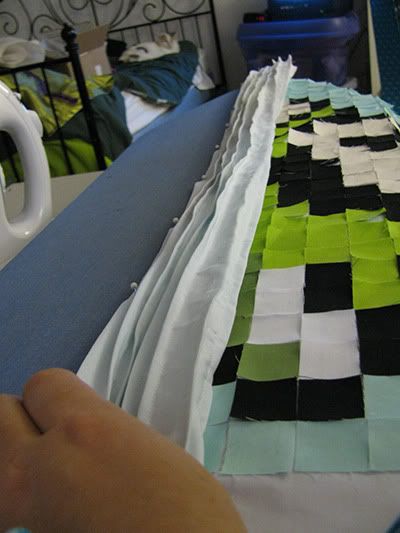
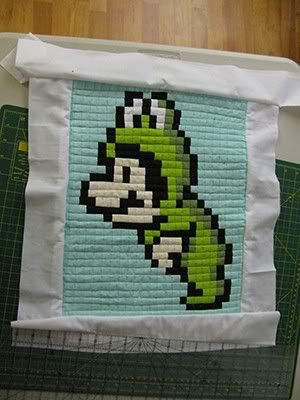
For this method, I would line up my squares the way I was going to place them, just like before. But instead of sewing one by one, I got a big piece of white fabric, and I stuck them down on it with the fusible web and an iron. After they were all ironed, I did ONE LONG SEAM across each row, and then when those were all done, I did ONE LONG SEAM along each column.

This meant four key differences in result:

-The fabric wasn't see-through because it had a white backing
-It was SO MUCH FASTER
-It was stronger
-It looked infinitely tidier.

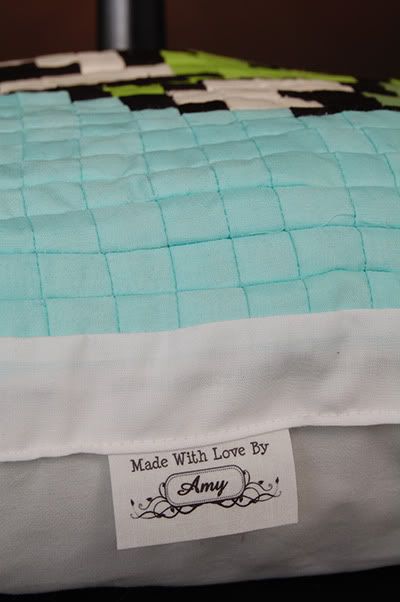
After I had all of this done, I gave him a border, added a back-side, sewed&stuffed him up.
All in all, I think I shaved off a 1/4 of the time that I spent on the first go-around at this.

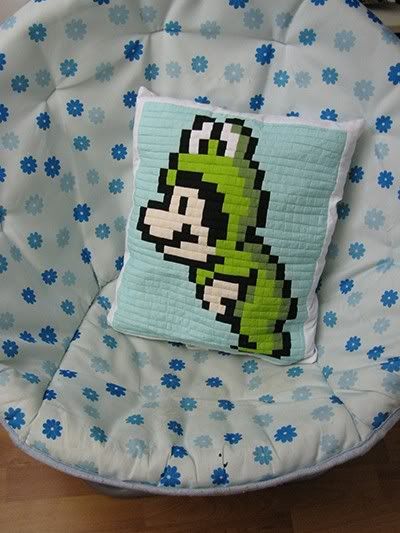
With all that said, I present Mario in his frog suit, in all his pixelated glory!


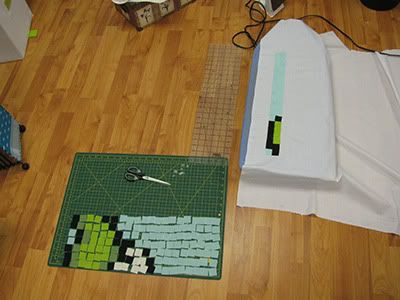
All of these are from my 'in-progress' shots. I made sure to take tonnes this time. I hope anyone attempting this type of project finds them useful. Click thumbnails to enlarge.

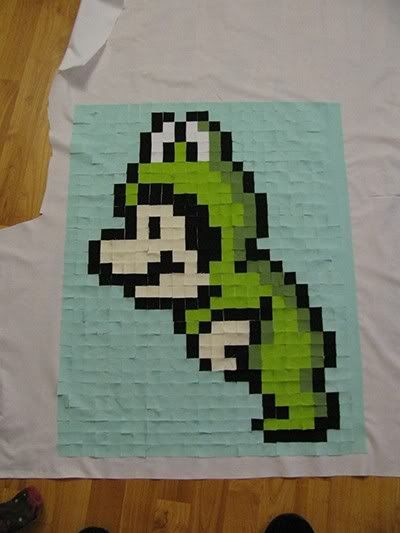
Layin' out the pieces.


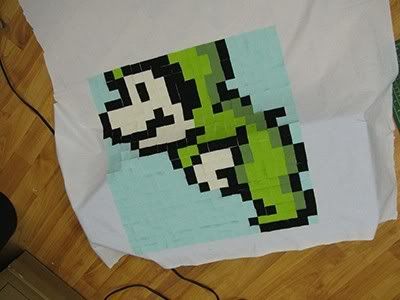
I've been using fusible web and ironing each piece down to the white backing.


It's uh... pretty freakin' huge at this point. Don't panic. It's supposed to be.


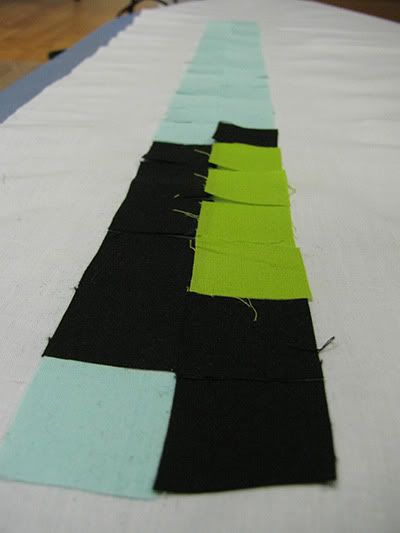
Here I'm starting to sew a seam, row by row, to hide the rough edges. This is where the shrinking starts.


Do everything in one direction first. Don't go one vertical, then horizontal, then vertical, etc. Start either vertical and finish across, or horizontal and finish across.


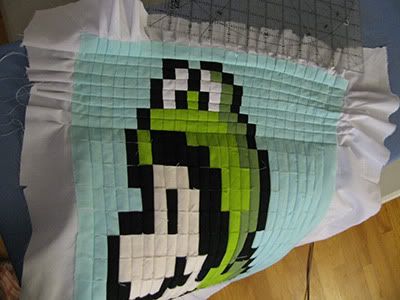
Shrinking! Now that you've gotten everything done one direction, you can go the other way!


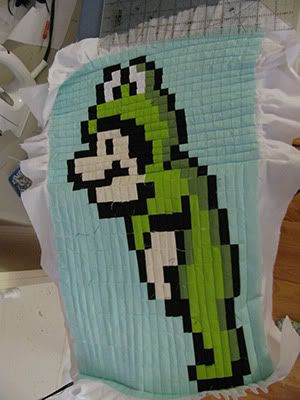
Remember how big he was before? This is how much it shrinks!!


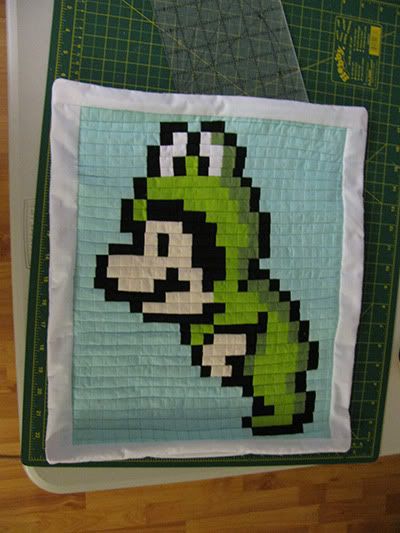
Trim the excess crap from the backing piece and give it a proper, clean looking, formal border.


Before Stuffin'.


After Stuffin'!


Et Voila! You now have a beautiful pixelated pillow!
I would LOVE LOVE LOVE to see photos of your project if you make one! It would make me super happy to know that I helped someone get inspired. :o)