Showing posts with label tutorial. Show all posts

Friday, January 8, 2010

Bone Pillow Tutorial

My boyfriends' mum Deb recently borrowed a pillow I had made in sewing classes when I was a kid for a long car ride up north. Ever since the summer she has dropped little *cough* hints that she loves it and wants her own oh-so-very-much.

I'm a sucker for a fan.

So I had to try and remember how on earth I had made this thing. I came up with a pattern which is very close to what I had used back when I was 10. And I also decided that since it worked so well for her neck pain, that I'd share a tutorial so others can make bone pillows too!

So I have taken pics all along the way to show exactly how it works. And it's really not to hard for the sewer with a fair amount of basic experience. If there is anything confusing about the tutorial, leave a comment and I'll try to answer it or re-work what I've written to make it clearer for others too.

Enjoy!


The Bone Pillow


Step One:
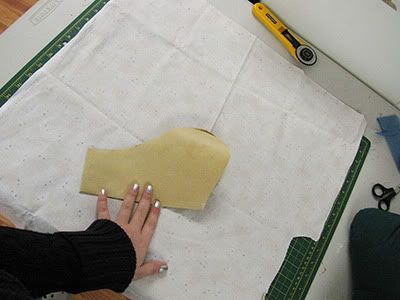
Fold a piece of pattern paper into quarters, and cut out a shape like this.

Step Two:
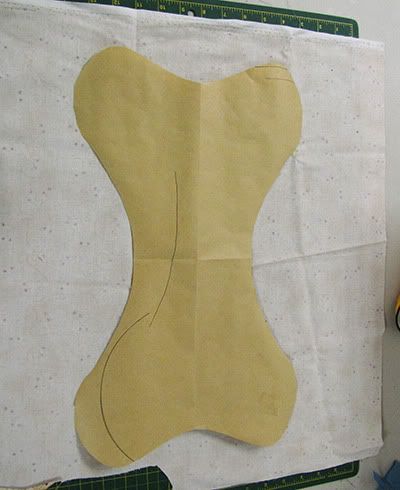
Unfold the paper and lay flat on fabric. It should be the shape of a dog bone. Cut three pieces of fabric from this shape.

Step Three:
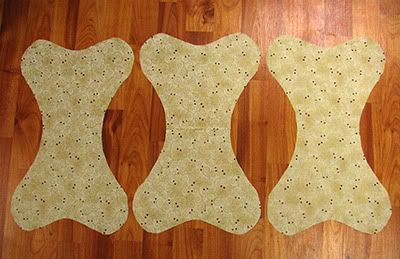
You now have three equally shaped pieces of fabric.

Step Four:
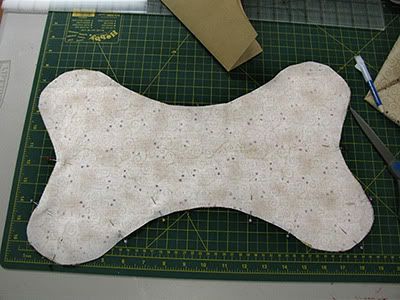
Take two of the pieces and place them print-sides together, so that your "ugly side" of the fabric is facing the table on the bottom piece, and up towards you on your top piece. Pin these together.

Step Five:
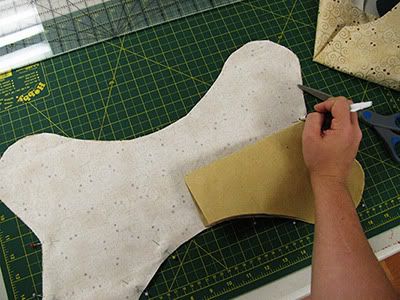
Take your pattern piece, fold it back into a quarter, and line up the edges to your fabric. Mark with a fabric marker the mid point of the bone's curve. Repeat to the other short side. This marks where you start sewing, and where you stop sewing. Using a 1/4 inch seam allowance, sew from one marking to the other. Make sure to back-stitch at the start and the stop. Leave the other half of the bone un-sewn at this step.

Step Six:
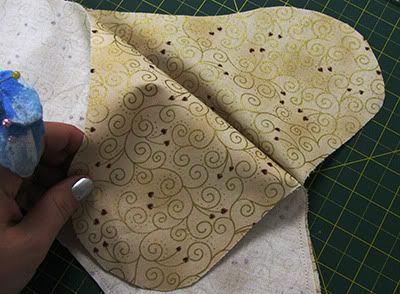
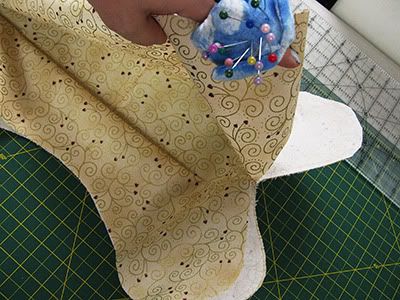
Leaving the bottom piece flat on the table, fold open the top pieces un-sewn half to reveal the "pretty sides" of the fabric. Take your third bone shaped fabric piece and lay it face down on top of the other two. On the side that has two layers, not four, pin together. Mark the mid point again, and sew along the area that you have pinned. Make sure to back-stitch at the start and stop, and make sure that the stitches at each end meet exactly at your previous start and stop from step five, or overlap slightly.


Step Seven:
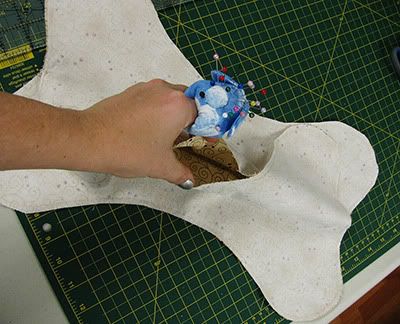
Now place the two remaining un-sewn edges together. Pin. You are going to sew these two layers together as well, MAKING SURE that half way there, you leave a gap the size of your hand. This is important for when you are turning it right-side out.

Step Eight:
Go around all of the edges and make tiny snips into the fabric, with extreme caution not to snip through your stitches. You should leave at least 3mm away from the stitches. You can space the cuts about an inch or two apart. The snips are important, because this helps your curves become smooth when stuffed. Other wise, you will see little dips where it is too tight when completed.
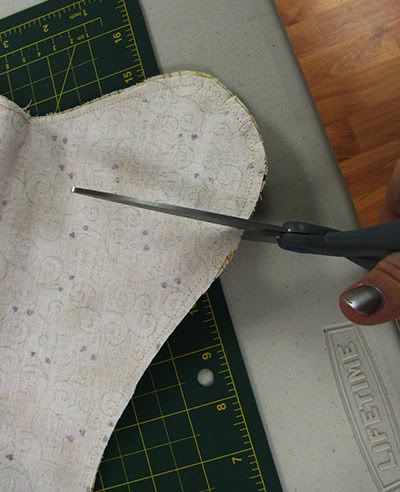

Step Nine:
Turn your bone pillow right side out. Stuff with polyfill, or whatever your preferred filler is.
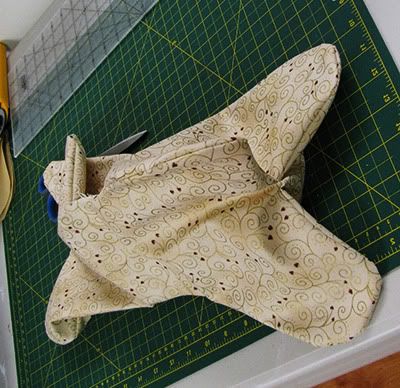

Step Ten:
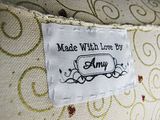
At the opening, turn in the raw edges to match the seams. Hand sew the opening shut using a whip-stitch. Hand sew on a label if you have one! (Taking opportunity to show of my new labels here! hehe.)
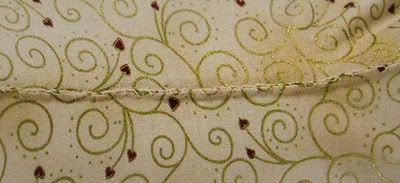


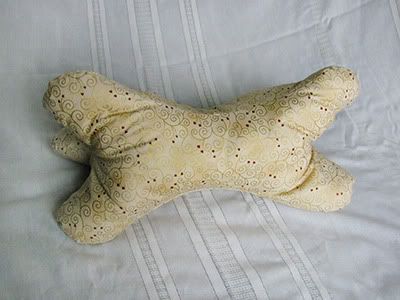
And there you have your bone pillow! Great for necks and backs during car rides, on the couch, or even camping!

Tuesday, October 27, 2009

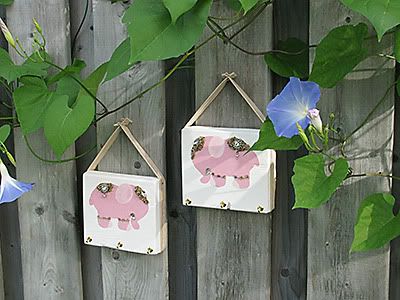
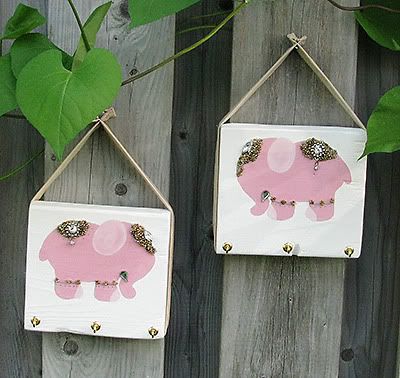
Elephant Jewelry Holder - Tutorial

Hello all! I received very nice feedback about the jewelry holder, so I've decided to post a tutorial so that you can all make your own! :o)


Supplies:
-Wood Block
-Sand Paper
-Screw in Hooks (Can be found at hardware stores)
-Paint
-Beads
-Glue Gun + Glue Sticks
-Ribbon, or fabric to make your own (sturdier)
-finishing nails.

Note:
Any smaller thumbnails can be clicked to be viewed in standard size in a new window.
Read all directions from start to finish before beginning your own set. If you are making more than one block like I did, do each step to each block as you go rather than finishing off one block at a time. It's way faster to do them together!

Hoh-kay! Here we go!


Step One:
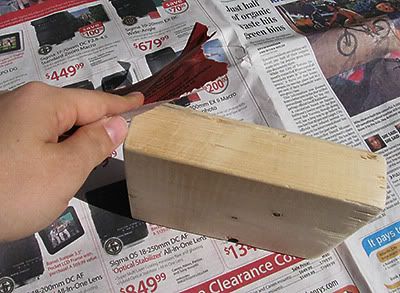
Sand your block of wood thoroughly.


Step Two:
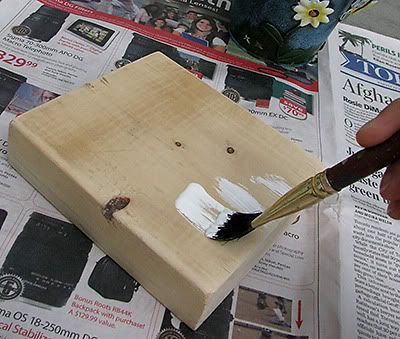
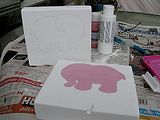
Paint a base coat on the wood using primer or acrylic paint. Let dry. Paint your block the background colour of your choice, or if you're using just acrylic paints just do a second coat. For mine, I used two layers of white acrylic paint. Let this dry thoroughly.


Step Three:
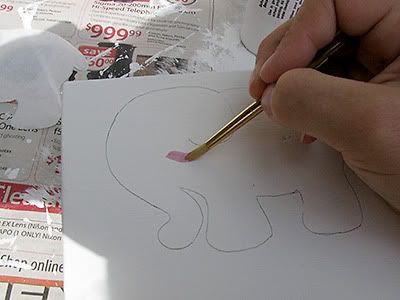
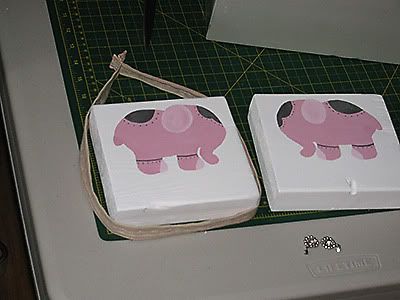
Trace an outline of your elephant in pencil very lightly. This will guide you where to paint.


Step Four:
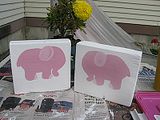
Paint the body of the elephant using acrylics. Let it dry.


Step Five:
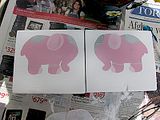
Add dimension by using highlights and low lights of the same tone. Add details if you wish. Let it dry between each layer of paint.


INTERMISSION - Paint drying! Make a snack, fold your underwear, give your kitty a belly rub. Vhat-ehvah!


Step Six:
Okay, so we're leaving the blocks alone for a bit. We'll focus on what will be holding your blocks up. If you are using ribbon, pick a strong type. Don't use anything flimsy or too thin.

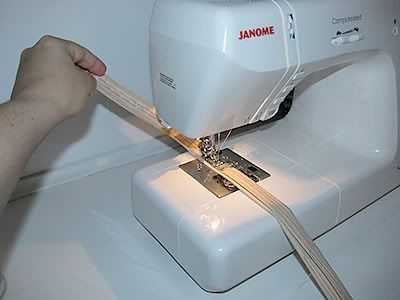
If you are sewing your own, pick a fabric and cut it to a width 4X the finished size. Cut the length based on the size of your block. Make it a minimum of 25cm longer than the perimeter (so that you have extra length to hang it). Press in the raw edges to the middle, then fold in half so they are trapped inside. Stitch down to finish. Use a decorative stitch like I did if you're feeling fancy!


Step Seven:
Place your ribbon around your block to decide how long you want it. Stitch ribbon ends together at the top once you have settled on a length. Then set aside.


Step Eight:
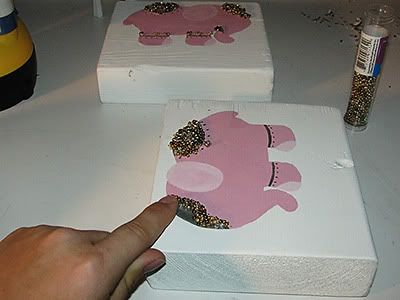
Now that your paint is completely dried, heat up your glue gun. Glue down little beads or embellishments to make your design pop! I use itty bitty seed-beads, which can be a real pain and take a long time. But they look fabulous in the end! I also used a few extra gems that can be found at any standard craft store (but I got mine off of shoes that had no match! haha!)


Step Nine:
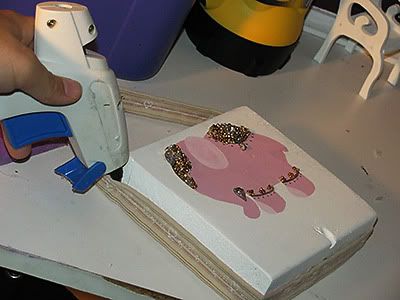
Now that your beads are firmly in spot, we're going to attach the ribbon. Line it up carefully, and before gluing try leaning it on the wall. You'll notice my ribbon isn't centre - it's lined up at the back. This was important because for me it was more balanced in this spot. So it's worth saying again, check before affixing! Once steady, use the glue gun to hold 'er down.


Step Ten:
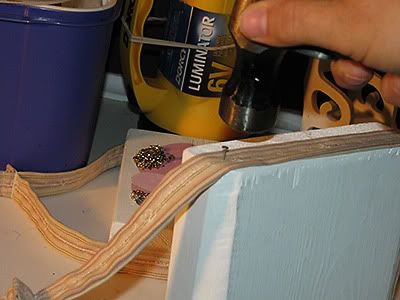
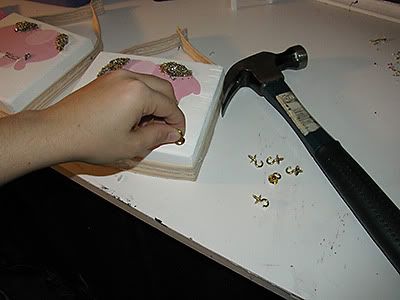
Use those finishing nails near the top for extra stability. One on each side of the block, right through the ribbon.


Step Eleven:
Screw in your hooks. I used three on each, you can do whatever you like! Consider the jewelry that you'll be hanging and how much space between you need.


Tadaaaaa! You're done! Yay! Now you're ready to hang them up and to keep those necklaces tangle free and organized! Your elephants will feel so pretty! ;o)


Monday, June 8, 2009

Burpee Cloth Tutorial

As promised, the how to! If you saw my post that included a baby burpee cloth, I promised you all a tutorial on how I made it. Well, I've got the full breakdown for you, with pictures! I promise it's super easy, and everyone will want one once you've made them for somebody.


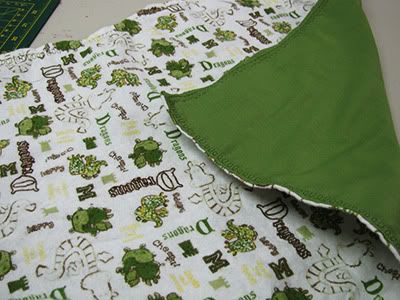
The fabric I chose for the front is 100% cotton. It's a thin flannelette. The back is just done in regular broadcloth.


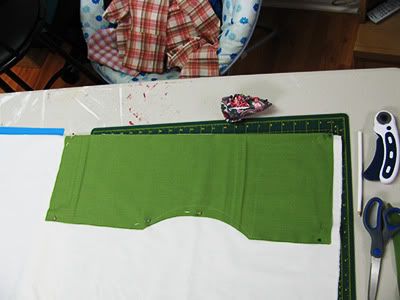
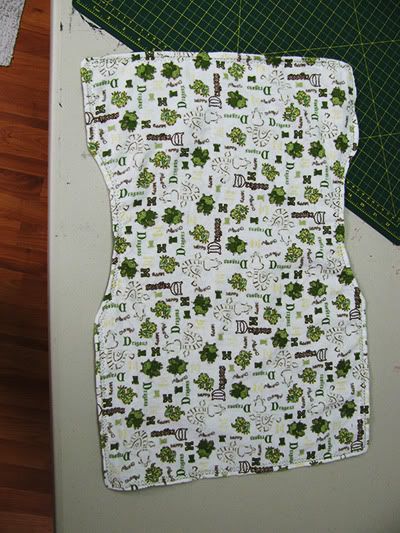
I cut a rectangular piece, and cut a half-circle two thirds of the length up on both sides. This half circle is so the burpee fits comfortably into the groove of the neck without bunching the fabric.

You need two pieces - one front and one back. The two pieces should be equal in every way, and symmetrical down the length.


Match up your pieces pretty-sides together (as we called them in my sewing class when I was a kid! Also known as right-sides facing each other for your more seasoned technical people!) and pin.


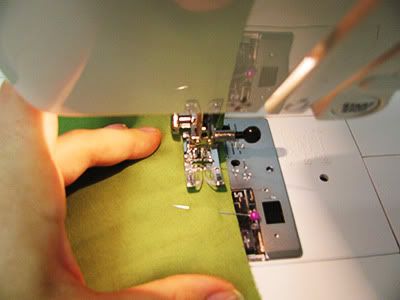
Sew a 2cm seam allowance around the whole thing except for one space at the bottom edge. Be sure to leave this so that you can turn it right side out when you finish!


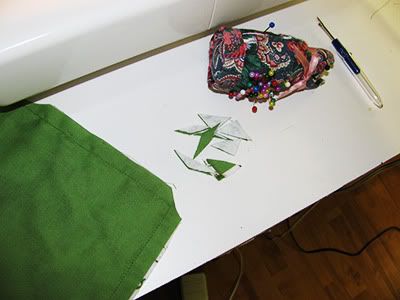
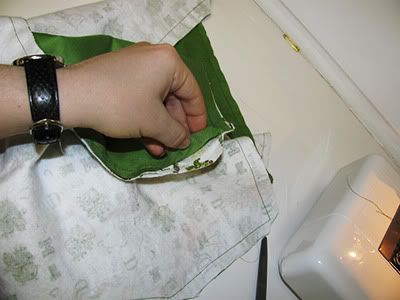
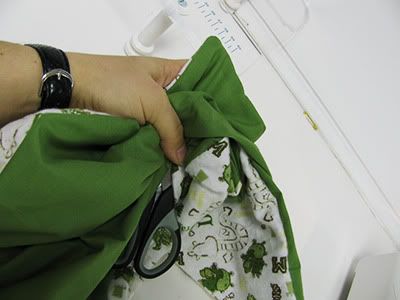
Trim the corners off so that it is not bulky when you flip it. Mind that you do not cut your stitches!


Find the hole you left. Turn it all inside out.


Use something small and blunt to poke your corners and edges to give a finished look. Be gentle, and don't be stupid like me using scissors. I haven't had a problem, but it's just not smart ya know? Scold me later. :oP

Turn in those edges at your opening inward to match the seam allowance and press with an iron.


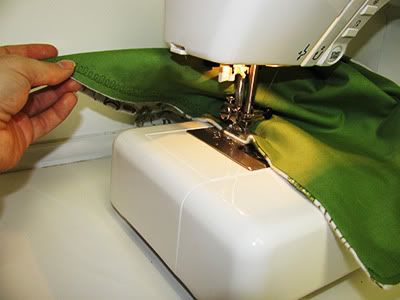
Select a nice fancy stitch that you like. I like loopy-loops! Starting with your opening, top stitch all the way around your burpee.


Et voila! A beautiful burpee cute enough for babies to hurl on! ;o)


Monday, January 5, 2009

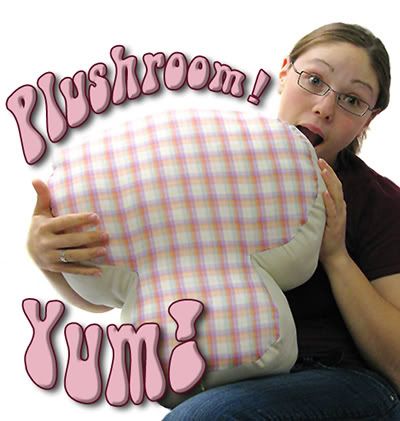
The Plushroom - New Species


In November I invented a new species of fungi. I call it - The Plushroom!


This fungi grows on warm beds. It's attracted to body heat and pet fur. Although not particularilly flavourful, it does have some side affects of being tasted. It will leave a cotton-y feel to the tounge when licked. It has non-oral side affects that are caused by physical contact. When subjected to touching the Plushroom, humans and pets alike experience warmth, drowsiness, and an odd sense of comfort. Known species so far are plaid and beige. It appears they have bred themselves into a hybrid. Scientists have recently begun research as to how to reproduce them in a lab setting.


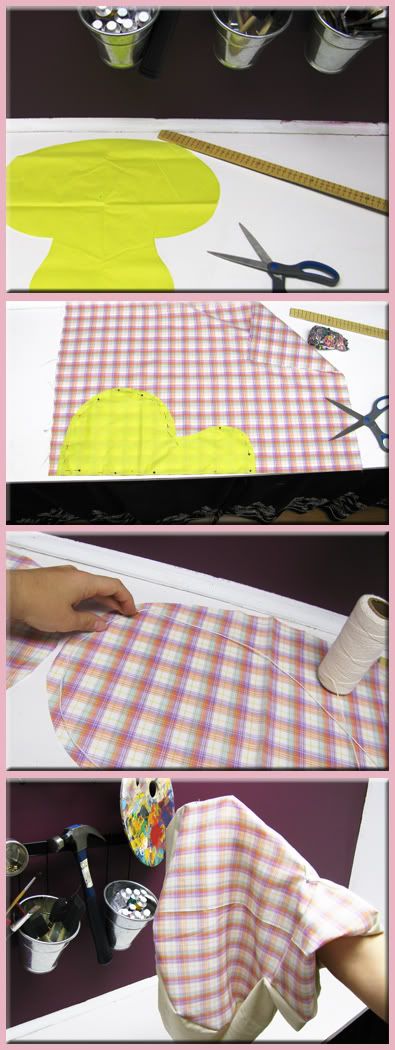
Cut your symmetrical Plushroom pattern, fold in half and fold fabric in half. Do not cut fold. Cut two pieces, one for each side. Measure using string 1.5 X the length of the total perimiter of your cut fabric. The extra point-five comes in handy, as every sewers seam allowance prefrences vary. Cut one long rectangle of fabric at least 5 inches in width. Use a wider width for a chunkier Plushroom, and a thinner width for a flatter Plushroom. This will be used as your side. Sew the lengths of the rectangle along the perimiter of your cut Plushroom front, "pretty" sides together. Do the same for the Plushroom back. If you have any excess length of your long rectangle once all sides of the Plushroom have been covered, cut it now. Do not sew shut. Turn your Plushroom right side out. Stuff with peferred filler. Hand sew the bottom of your rectangle together. Voila! A lovable fungi for your bed or couch - The Plushroom!