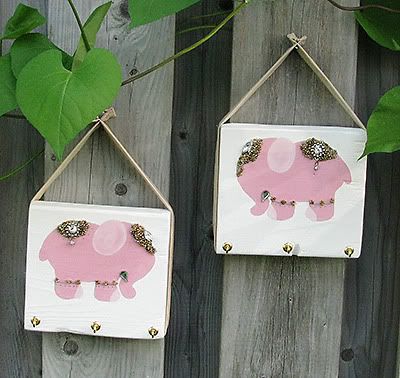
Hello all! I received very nice feedback about the jewelry holder, so I've decided to post a tutorial so that you can all make your own! :o)
Supplies:
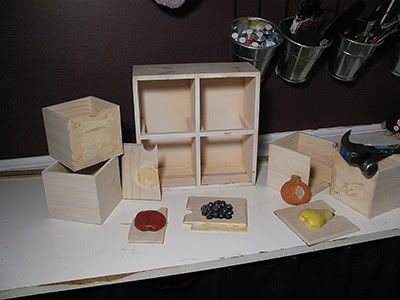
-Wood Block
-Sand Paper
-Screw in Hooks (Can be found at hardware stores)
-Paint
-Beads
-Glue Gun + Glue Sticks
-Ribbon, or fabric to make your own (sturdier)
-finishing nails.
Note:
Any smaller thumbnails can be clicked to be viewed in standard size in a new window.
Read all directions from start to finish before beginning your own set. If you are making more than one block like I did, do each step to each block as you go rather than finishing off one block at a time. It's way faster to do them together!
Hoh-kay! Here we go!
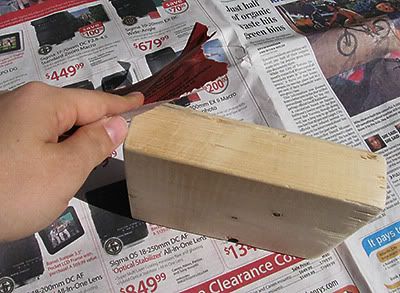
Step One:Sand your block of wood thoroughly.
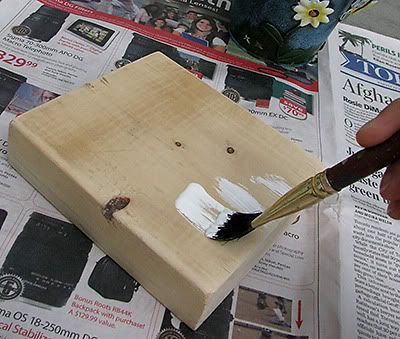
 Step Two:
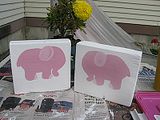
Paint a base coat on the wood using primer or acrylic paint. Let dry. Paint your block the background colour of your choice, or if you're using just acrylic paints just do a second coat. For mine, I used two layers of white acrylic paint. Let this dry thoroughly.
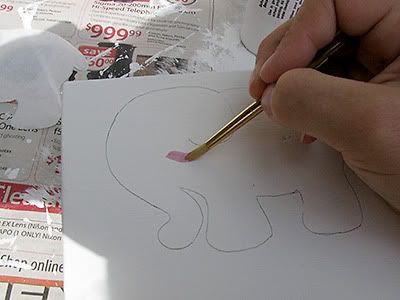
 Step Three:
Trace an outline of your elephant in pencil very lightly. This will guide you where to paint.
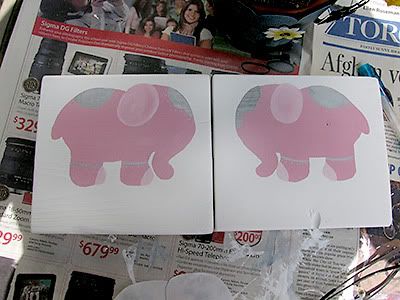
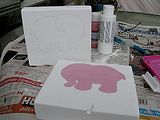
 Step Four:
Paint the body of the elephant using acrylics. Let it dry.
 Step Five:
Add dimension by using highlights and low lights of the same tone. Add details if you wish. Let it dry between each layer of paint.
 INTERMISSION - Paint drying!
 Make a snack, fold your underwear, give your kitty a belly rub. Vhat-ehvah!
 Step Six:
Okay, so we're leaving the blocks alone for a bit. We'll focus on what will be holding your blocks up. If you are using ribbon, pick a strong type. Don't use anything flimsy or too thin.
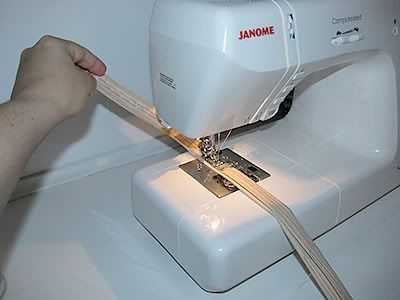
If you are sewing your own, pick a fabric and cut it to a width 4X the finished size. Cut the length based on the size of your block. Make it a minimum of 25cm longer than the perimeter (so that you have extra length to hang it). Press in the raw edges to the middle, then fold in half so they are trapped inside. Stitch down to finish. Use a decorative stitch like I did if you're feeling fancy!
 Step Seven:
Place your ribbon around your block to decide how long you want it. Stitch ribbon ends together at the top once you have settled on a length. Then set aside.
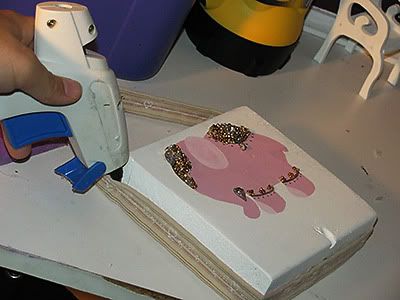
 Step Eight:
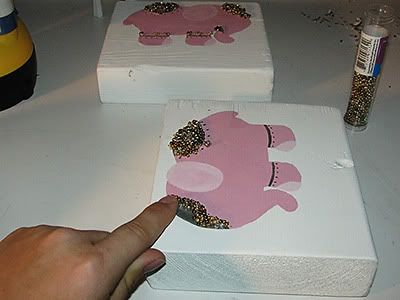
Now that your paint is completely dried, heat up your glue gun. Glue down little beads or embellishments to make your design pop! I use itty bitty seed-beads, which can be a real pain and take a long time. But they look fabulous in the end! I also used a few extra gems that can be found at any standard craft store (but I got mine off of shoes that had no match! haha!)
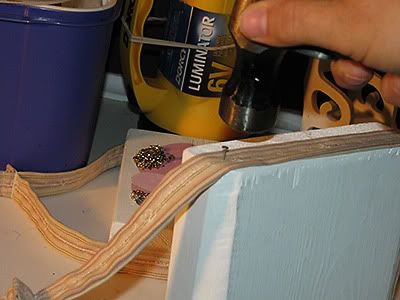
 Step Nine:
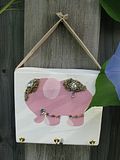
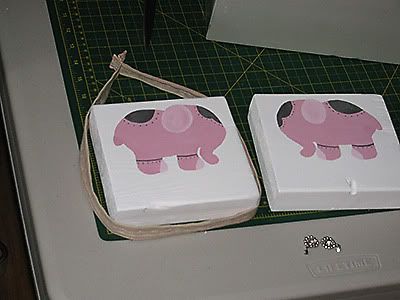
Now that your beads are firmly in spot, we're going to attach the ribbon. Line it up carefully, and before gluing try leaning it on the wall. You'll notice my ribbon isn't centre - it's lined up at the back.
This was important because for me it was more balanced in this spot. So it's worth saying again, check before affixing! Once steady, use the glue gun to hold 'er down.
 Step Ten:
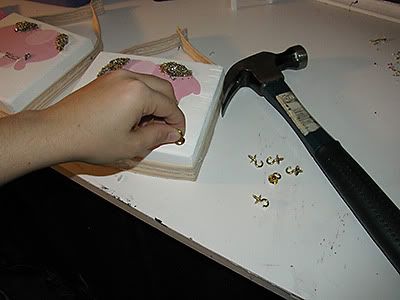
Use those finishing nails near the top for extra stability. One on each side of the block, right through the ribbon.
 Step Eleven:
Screw in your hooks. I used three on each, you can do whatever you like! Consider the jewelry that you'll be hanging and how much space between you need.
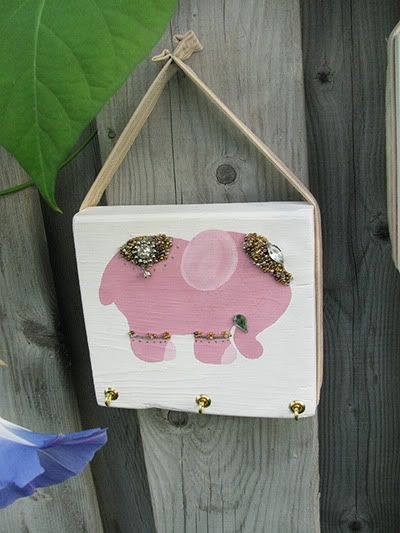
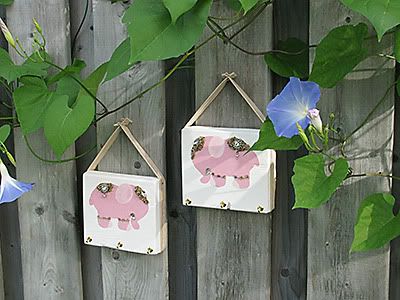
 Tadaaaaa!
 You're done! Yay! Now you're ready to hang them up and to keep those necklaces tangle free and organized! Your elephants will feel so pretty! ;o)