Monday, June 22, 2009

Paper and Stitches, make great cards Bi- ...kers

What did you think I was gonna say? Prove I was. :oP

I found this really nice paper stock that has fibres and leaves mixed into it. It's wonderful and natural looking. I made these cards from it!

The one on the left was a get well card, and the other I made for Perlabella in the recent Invite Your Partner swap where I gave her a bunny.


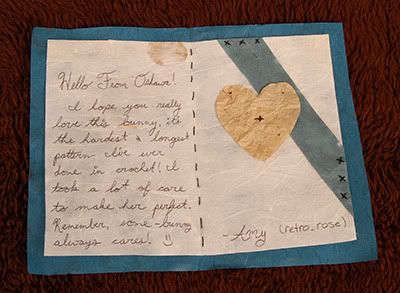
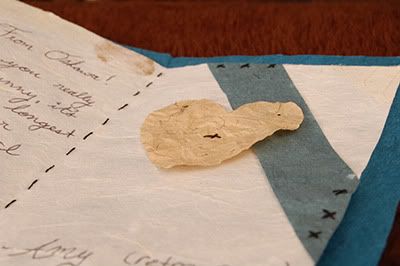
Here's some details of the inside of Perlabellas card!


Cute little stitched on heart!

Wednesday, June 17, 2009

Angel Swap

I must have completely forgotten to post these projects here! Oh dear!

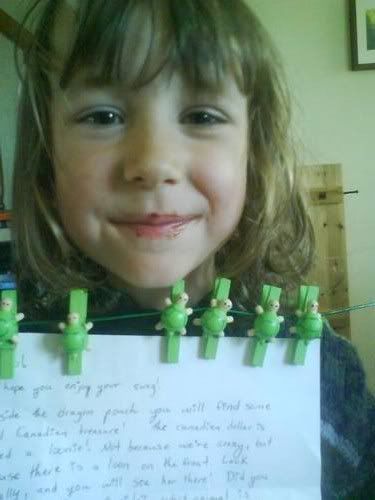
There was someone who didn't receive a package in a swap, so I sent her a package! It was a childrens swap, so I was making the items for her son. She lives in the UK. She tells me he likes natural things, getting postcards from his Uncle, and hey, what boy doesn't like candy? So this is what I made him...

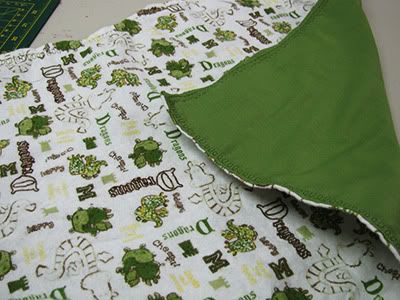
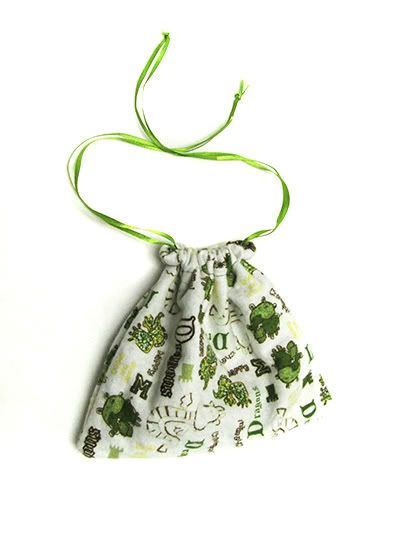
A Dangerous Dragon Drawstring Bag...


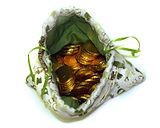
Filled With Canadian Treasure...


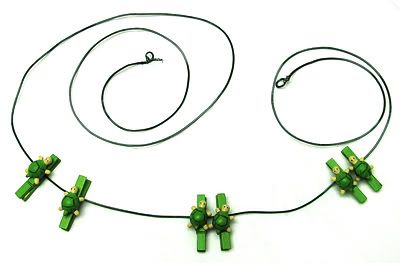
A Line To Hang His Projects On...


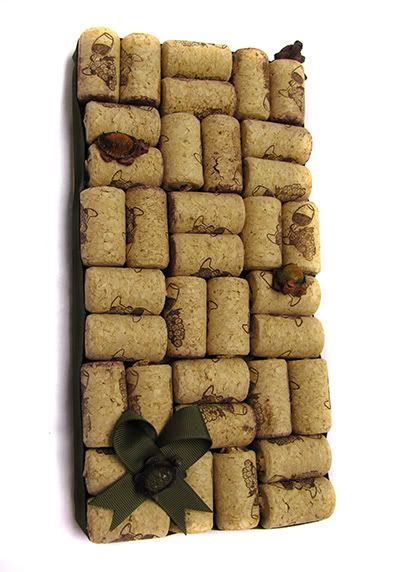
A "Cork" Board...


And They're Both Decorated with Turtles!


It would seem that he enjoyed them all! *Ahem* Especially the chocolate treasure! ;o)

Monday, June 15, 2009

Crocheted Bunny - IYP Swap

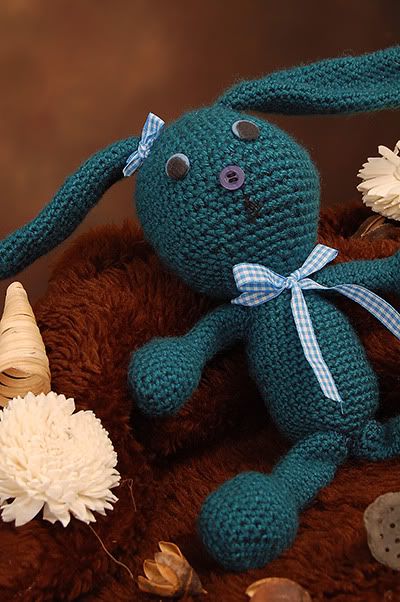
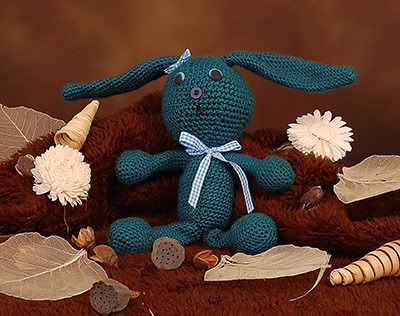
Well, I hope you enjoyed that little teaser! But I have received word from Perlabella that she has the package I sent her now!! So here are some pictures of the bunny I made her!


This was the longest crochet project I've ever done. It was also made difficult near the end because at work I chopped through part of my left thumb with a paper guillotine... that was horrid. Right through the nail. It has almost entirely grown out now though! yay!

The other reason this was hard was because the legs and arms get really skinny and I end up exerting a lot of pressure on my fingers to try and see the stitches. Constantly readjusting is the annoying part of working in the round.


All in all I think she came out gorgeous though!


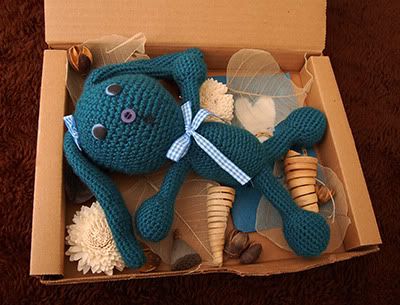
Here she is all but wrapped up and ready to go! I added the potpourri to give a little country look when she opens it!


For anyone who wishes to attempt this, I got the pattern here: http://www.rheatheylia.com/index.php?page=patterns&id=3

My proportions didn't end up coming out the same as I do a really tight stitch, and I purposely didn't make the feet that fat. J'adore le petit pieds! ;o)

Tuesday, June 9, 2009

My Travel Wallet

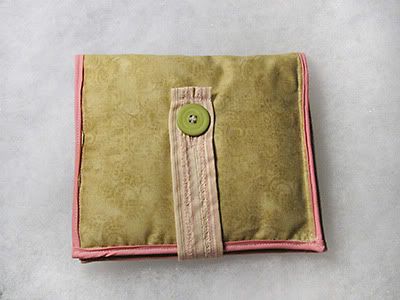
A while ago I announced that Kellie and I were planning to go on a volunteer trip overseas. I made her a travel wallet. I re-designed it as I was just not satisfied with the first one. But once I showed it to her, it magically disappeared... I think she must have it already! Lol! Oh well, no pictures for the blog. It's made of the same fabric, but instead of a hard core, I used quilting batting. Like I did for mine!

Tada! It's wonderful no? I love the colours! This is the front.


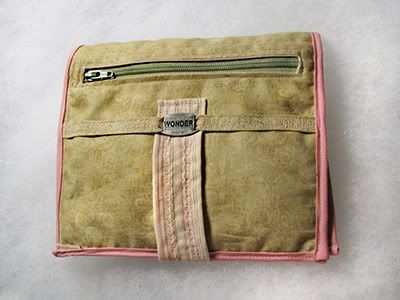
And I'm actually even more fond of the back!


As you can see, I have now learned how to do lined zippered pockets. From a tutorial of course!! Heaven forbid I should use a pattern. *shudder* I added a zippered pocket to Kellies as well.


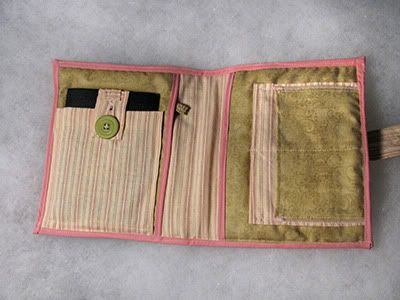
This is the inside. I included a special spot on the left for my passport. Buttoned in and safe. Underneath there is a spot for a notebook and a pen holder sticking out. On the other side there is room for plane tickets, and four card slots. Eeeee! I just love it! I should have learned to make these things sooner, it would have been great for India. So tailored to my needs!


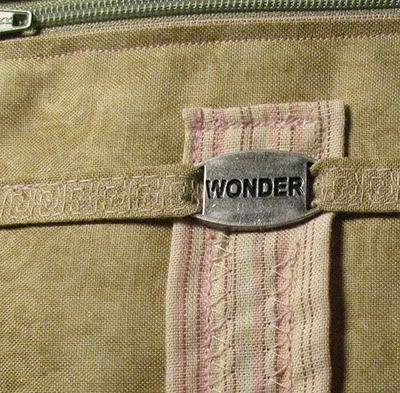
And here's a close up of the scrapbook accessory that I used on it. I love it, perfect for a travel wallet! I used some stitches from my new Janome sewing machine (love!) to make the ribbon.

Monday, June 8, 2009

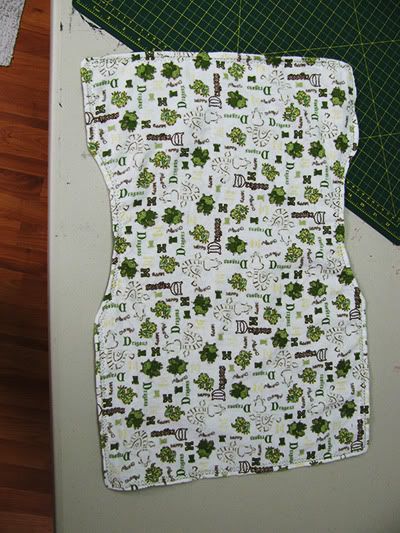
Burpee Cloth Tutorial

As promised, the how to! If you saw my post that included a baby burpee cloth, I promised you all a tutorial on how I made it. Well, I've got the full breakdown for you, with pictures! I promise it's super easy, and everyone will want one once you've made them for somebody.


The fabric I chose for the front is 100% cotton. It's a thin flannelette. The back is just done in regular broadcloth.
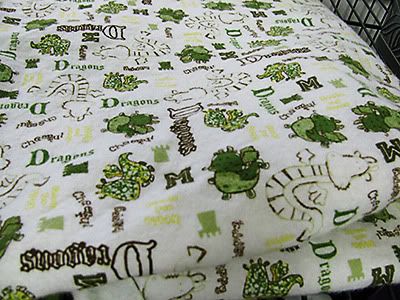


I cut a rectangular piece, and cut a half-circle two thirds of the length up on both sides. This half circle is so the burpee fits comfortably into the groove of the neck without bunching the fabric.

You need two pieces - one front and one back. The two pieces should be equal in every way, and symmetrical down the length.
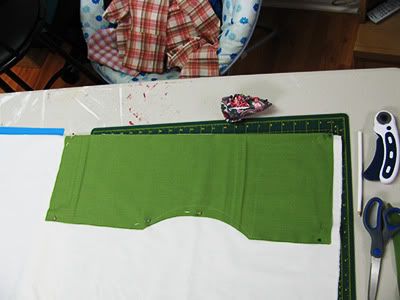


Match up your pieces pretty-sides together (as we called them in my sewing class when I was a kid! Also known as right-sides facing each other for your more seasoned technical people!) and pin.


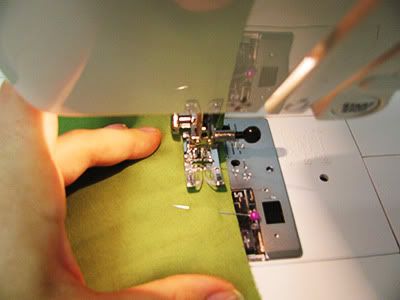
Sew a 2cm seam allowance around the whole thing except for one space at the bottom edge. Be sure to leave this so that you can turn it right side out when you finish!


Trim the corners off so that it is not bulky when you flip it. Mind that you do not cut your stitches!
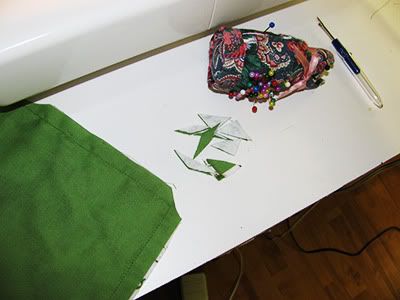


Find the hole you left. Turn it all inside out.
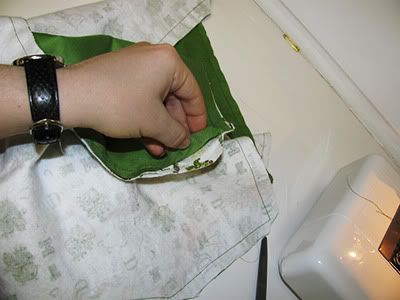


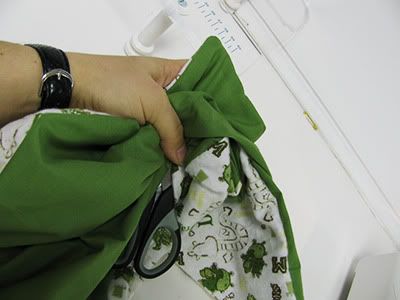
Use something small and blunt to poke your corners and edges to give a finished look. Be gentle, and don't be stupid like me using scissors. I haven't had a problem, but it's just not smart ya know? Scold me later. :oP

Turn in those edges at your opening inward to match the seam allowance and press with an iron.


Select a nice fancy stitch that you like. I like loopy-loops! Starting with your opening, top stitch all the way around your burpee.
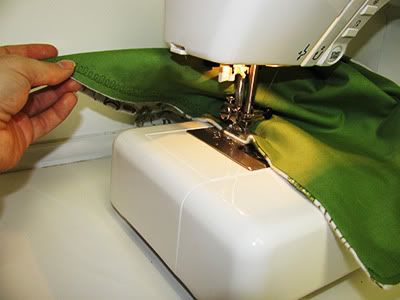


Et voila! A beautiful burpee cute enough for babies to hurl on! ;o)

Sunday, June 7, 2009

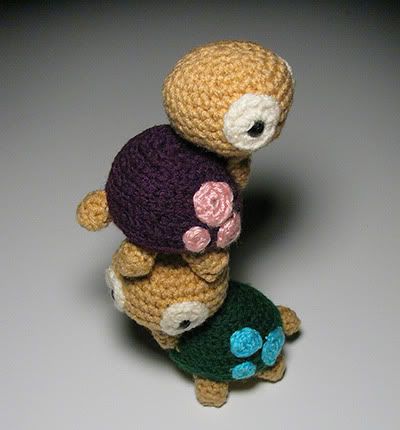
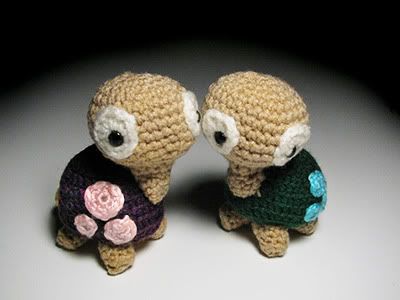
Amigurumi Turtles From Perlabella!

I just received these awesomely cute amigurumi turtles from PerlaBella in the IYP swap. (Invite Your Partner).

I love their colouring, and their expressions are priceless! I picked this pattern for her to make, and she picked a bunny pattern for me to make her!

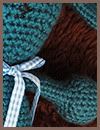
Bunny Teaser:
I don't want to show the whole project this post, as she hasn't received her package yet! Due time people, due time! :o)
Anywho, the crazy turtles! Yay!


"Uhhh.... Which way are we goin?"
"I dunno, I can't decide."
"Lets go both ways together!!!!"
"Dur... Okay!"

Friday, June 5, 2009

Mirror

Well now, I've cleared more than a month of days since my last post! I'll have to end that!

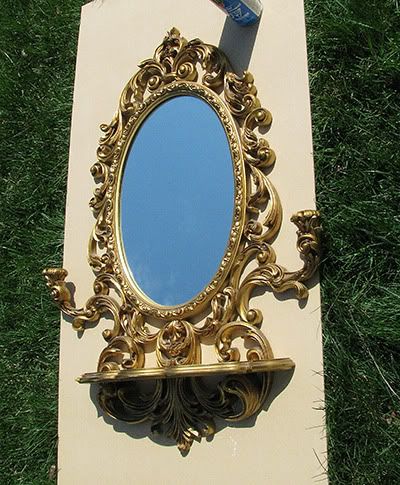
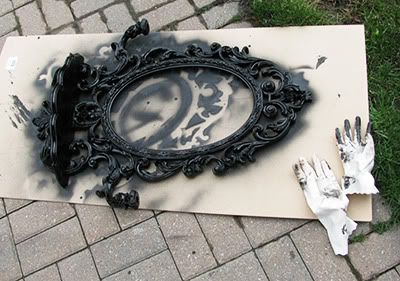
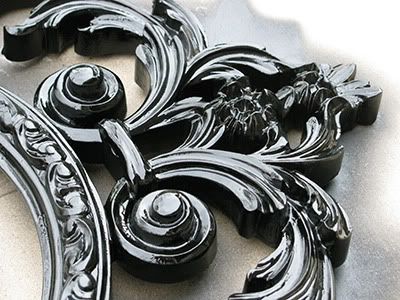
I had promised a part two to my treasure hunt. I found the most tacky, heinous and horrible... and yet simply elegant mirror. It just needed a spruce up!

Before:


After:


BAM!

It's totally nice eh? I love how it looks! I wanted it hanging over the sink in my bathroom, but there is an outlet there and it stuck out... bah! So it's hanging in the bathroom but in a different spot. Looks spiffy! Huttah!

Close Up: