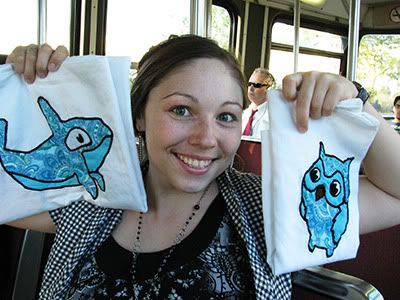
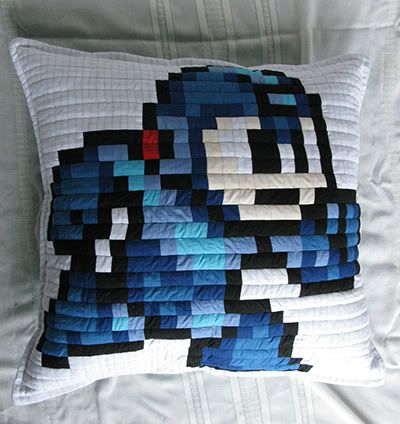
My boyfriends' mum Deb recently borrowed a pillow I had made in sewing classes when I was a kid for a long car ride up north. Ever since the summer she has dropped
little *cough* hints that she loves it and wants her own oh-so-very-much.
I'm a sucker for a fan.
So I had to try and remember how on earth I had made this thing. I came up with a pattern which is very close to what I had used back when I was 10. And I also decided that since it worked so well for her neck pain, that I'd share a tutorial so others can make bone pillows too!
So I have taken pics all along the way to show exactly how it works. And it's really not to hard for the sewer with a fair amount of basic experience. If there is anything confusing about the tutorial, leave a comment and I'll try to answer it or re-work what I've written to make it clearer for others too.
Enjoy!
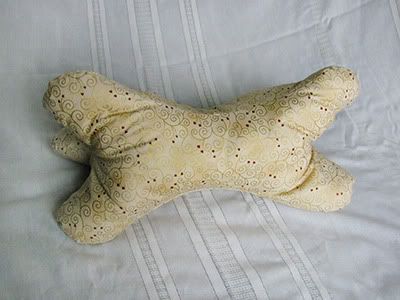
The Bone Pillow
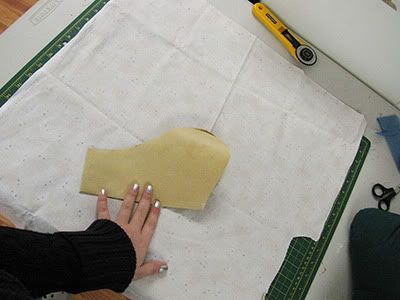
Step One:
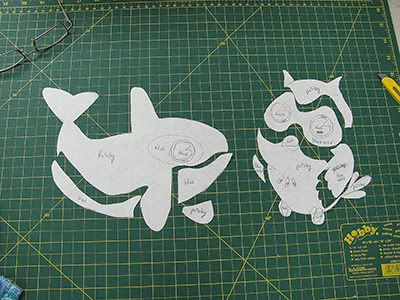
Fold a piece of pattern paper into quarters, and cut out a shape like this.
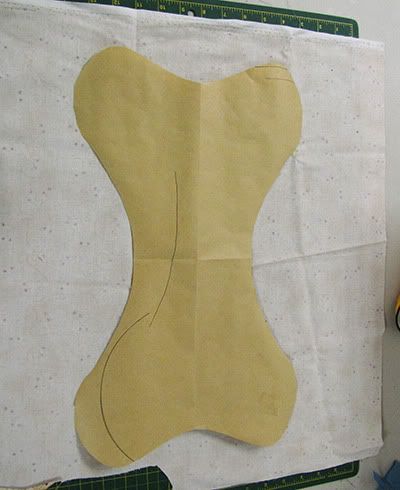
Step Two:
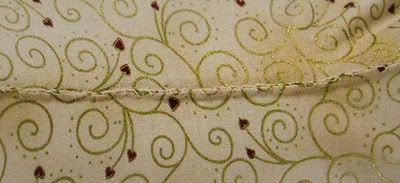
Unfold the paper and lay flat on fabric. It should be the shape of a dog bone. Cut three pieces of fabric from this shape.
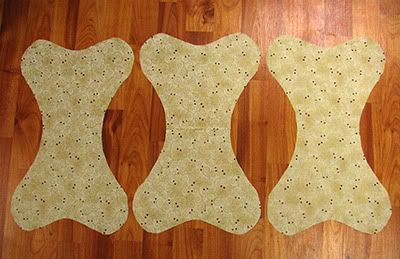
Step Three:
You now have three equally shaped pieces of fabric.
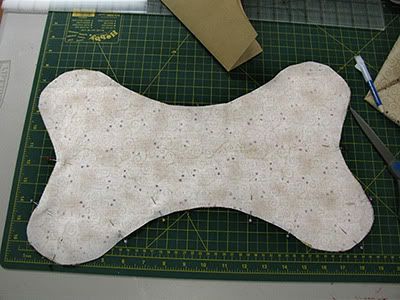
Step Four:
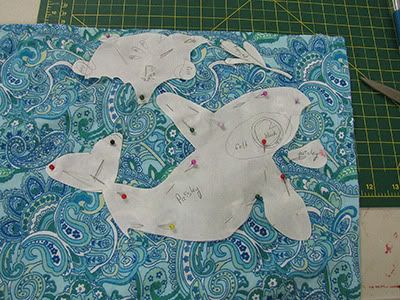
Take two of the pieces and place them print-sides together, so that your "ugly side" of the fabric is facing the table on the bottom piece, and up towards you on your top piece. Pin these together.
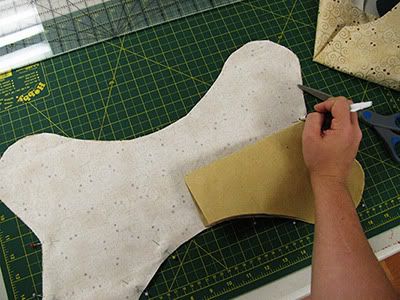
Step Five:
Take your pattern piece, fold it back into a quarter, and line up the edges to your fabric. Mark with a fabric marker the mid point of the bone's curve. Repeat to the other short side. This marks where you start sewing, and where you stop sewing. Using a 1/4 inch seam allowance, sew from one marking to the other. Make sure to back-stitch at the start and the stop. Leave the other half of the bone un-sewn at this step.
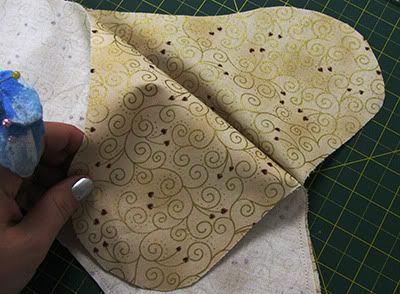
Step Six:
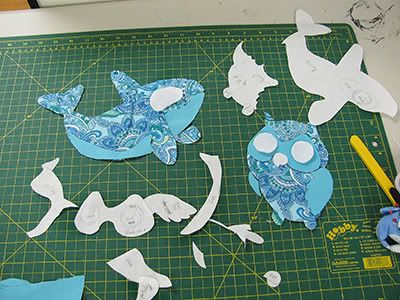
Leaving the bottom piece flat on the table, fold open the top pieces un-sewn half to reveal the "pretty sides" of the fabric. Take your third bone shaped fabric piece and lay it face down on top of the other two. On the side that has two layers,
not four, pin together. Mark the mid point again, and sew along the area that you have pinned. Make sure to back-stitch at the start and stop, and make sure that the stitches at each end meet
exactly at your previous start and stop from step five, or overlap slightly.

Step Seven:
Now place the two remaining un-sewn edges together. Pin. You are going to sew these two layers together as well, MAKING SURE that half way there, you leave a gap the size of your hand. This is important for when you are turning it right-side out.

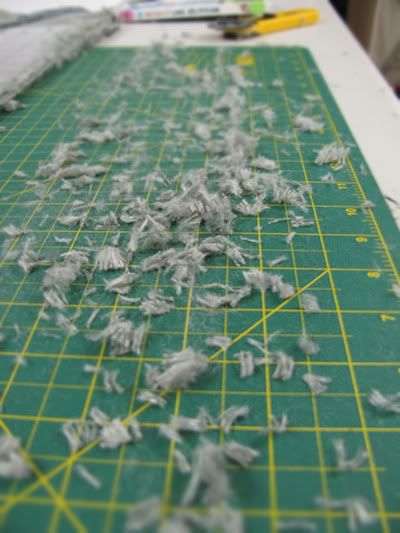
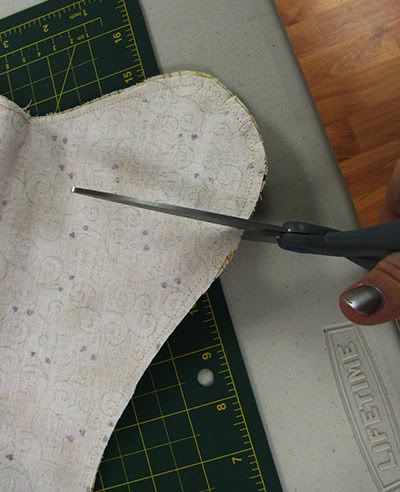
Step Eight:
Go around all of the edges and make tiny snips into the fabric, with extreme caution not to snip through your stitches. You should leave at least 3mm away from the stitches. You can space the cuts about an inch or two apart. The snips are important, because this helps your curves become smooth when stuffed. Other wise, you will see little dips where it is too tight when completed.
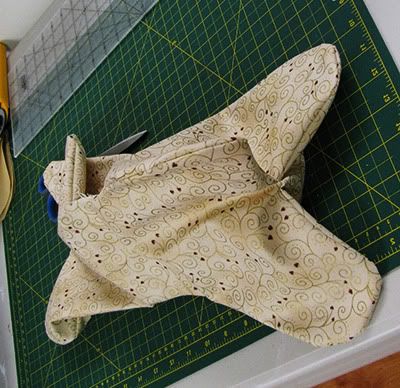
Step Nine:
Turn your bone pillow right side out. Stuff with polyfill, or whatever your preferred filler is.
Step Ten:
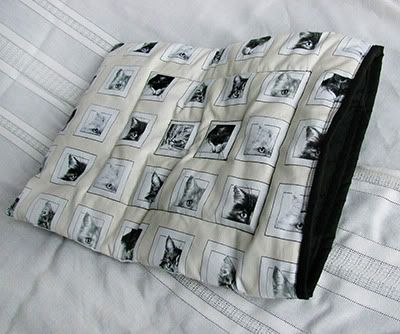
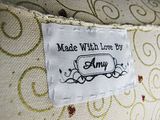
At the opening, turn in the raw edges to match the seams. Hand sew the opening shut using a whip-stitch. Hand sew on a label if you have one! (Taking opportunity to show of my new labels here! hehe.)
And there you have your bone pillow! Great for necks and backs during car rides, on the couch, or even camping!