Well, my time as Selvi's sponsor is coming to a close. It really deeply saddens me, but at the same time, I'm so happy for her. She's taking entrance exams to teacher training institute. She's really pursuing it. I feel as proud of her as any other family member could, I'm just welled up with happiness. She will make so many lives richer. Everyone please cross your fingers for her. If you are also the praying sort, please say a lil' prayer for her success.
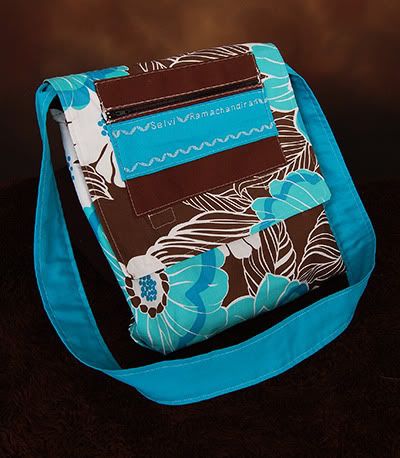
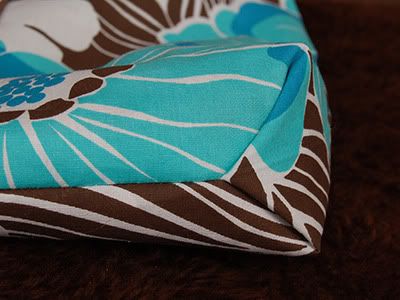
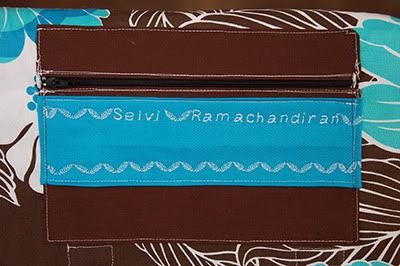
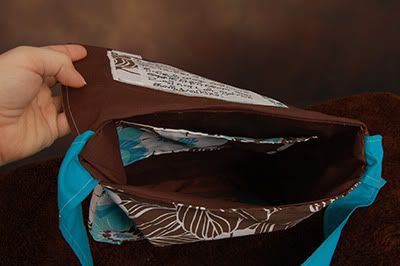
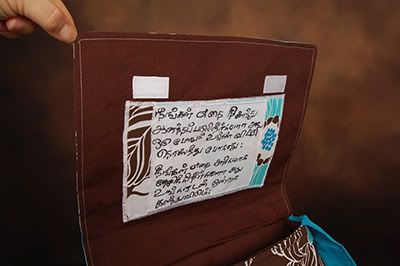
As a graduation present from high school, I'm sending her this bag that I've made from scratch. The pattern is from the book One Yard Wonders. Wonderful book! I don't use patterns often, but there is a lot of great stuff in here. It's something she can use to carry notes and such to and from class. I made it special, not just with her name on it, but I got a friend of mine who speaks Tamil to translate a meaningful quote for me. I used fabric marker to copy it onto fabric and sewed it into the flap of the bag. I want her to see it each time she opens her bag, and realize all the love there is in this world for her.
"What we have once enjoyed we can never lose. All that we love deeply becomes a part of us. "
-Helen Keller
The intention behind the quote is two fold. I want her to think of the times with her mother, however faded in her memory, whom she lost when she was young. And I want her to also know that even if we're not going to be in contact any more, that she'll always be in my heart.
Sunday, June 6, 2010
Frog Mario Pillow
This is a chunky post folks, strap in!
This is one of the biggest undertakings I've done for a swap. This is a revised method to the Megaman Pillow I made for my boyfriend at Christmas. Instead of taking each square, sewing it to the next one, then the next one, then eventually forming a row, where you would then take all the rows and sew them together into columns, pressing open seams each time (which left a bit of a messy look through the semi-translucent fabric), THIS TIME I used fusible web.
For this method, I would line up my squares the way I was going to place them, just like before. But instead of sewing one by one, I got a big piece of white fabric, and I stuck them down on it with the fusible web and an iron. After they were all ironed, I did ONE LONG SEAM across each row, and then when those were all done, I did ONE LONG SEAM along each column.
This meant four key differences in result:
-The fabric wasn't see-through because it had a white backing
-It was SO MUCH FASTER
-It was stronger
-It looked infinitely tidier.
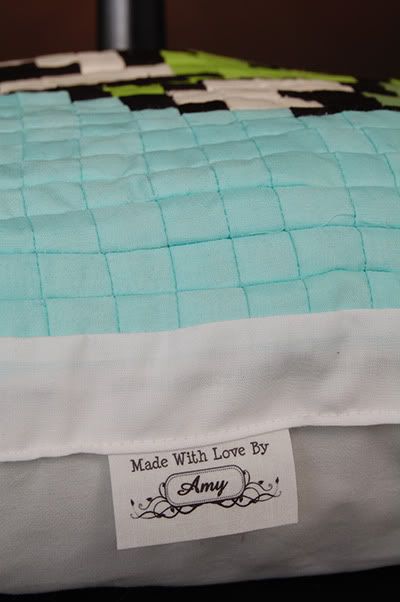
After I had all of this done, I gave him a border, added a back-side, sewed&stuffed him up.
All in all, I think I shaved off a 1/4 of the time that I spent on the first go-around at this.
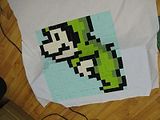
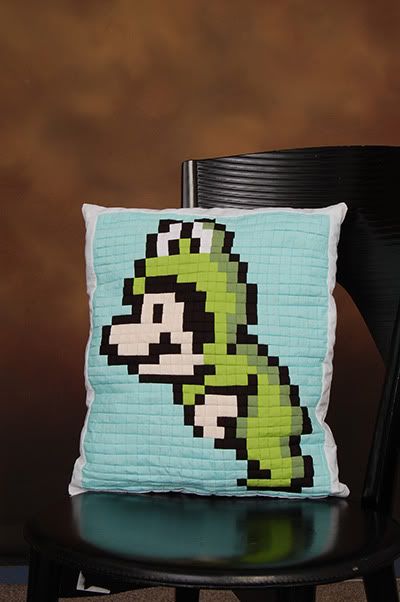
With all that said, I present Mario in his frog suit, in all his pixelated glory!
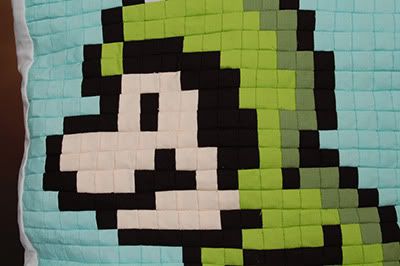
All of these are from my 'in-progress' shots. I made sure to take tonnes this time. I hope anyone attempting this type of project finds them useful. Click thumbnails to enlarge.
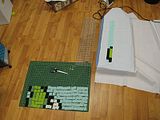
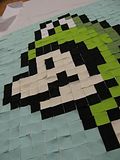
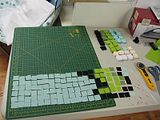
Layin' out the pieces.
I've been using fusible web and ironing each piece down to the white backing.
It's uh... pretty freakin' huge at this point. Don't panic. It's supposed to be.
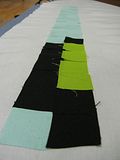
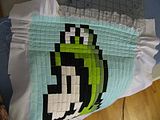
Here I'm starting to sew a seam, row by row, to hide the rough edges. This is where the shrinking starts.
Do everything in one direction first. Don't go one vertical, then horizontal, then vertical, etc. Start either vertical and finish across, or horizontal and finish across.
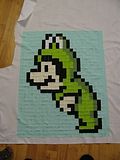
Shrinking! Now that you've gotten everything done one direction, you can go the other way!
Remember how big he was before? This is how much it shrinks!!
Trim the excess crap from the backing piece and give it a proper, clean looking, formal border.
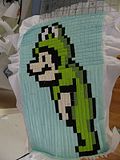
Before Stuffin'.
After Stuffin'!
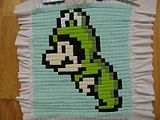
Et Voila! You now have a beautiful pixelated pillow!
I would LOVE LOVE LOVE to see photos of your project if you make one! It would make me super happy to know that I helped someone get inspired. :o)
This is one of the biggest undertakings I've done for a swap. This is a revised method to the Megaman Pillow I made for my boyfriend at Christmas. Instead of taking each square, sewing it to the next one, then the next one, then eventually forming a row, where you would then take all the rows and sew them together into columns, pressing open seams each time (which left a bit of a messy look through the semi-translucent fabric), THIS TIME I used fusible web.
For this method, I would line up my squares the way I was going to place them, just like before. But instead of sewing one by one, I got a big piece of white fabric, and I stuck them down on it with the fusible web and an iron. After they were all ironed, I did ONE LONG SEAM across each row, and then when those were all done, I did ONE LONG SEAM along each column.
This meant four key differences in result:
-The fabric wasn't see-through because it had a white backing
-It was SO MUCH FASTER
-It was stronger
-It looked infinitely tidier.
After I had all of this done, I gave him a border, added a back-side, sewed&stuffed him up.
All in all, I think I shaved off a 1/4 of the time that I spent on the first go-around at this.
With all that said, I present Mario in his frog suit, in all his pixelated glory!
All of these are from my 'in-progress' shots. I made sure to take tonnes this time. I hope anyone attempting this type of project finds them useful. Click thumbnails to enlarge.
Layin' out the pieces.
I've been using fusible web and ironing each piece down to the white backing.
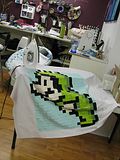
It's uh... pretty freakin' huge at this point. Don't panic. It's supposed to be.
Here I'm starting to sew a seam, row by row, to hide the rough edges. This is where the shrinking starts.
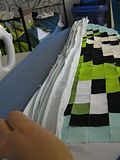
Do everything in one direction first. Don't go one vertical, then horizontal, then vertical, etc. Start either vertical and finish across, or horizontal and finish across.
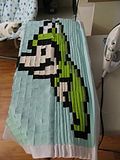
Shrinking! Now that you've gotten everything done one direction, you can go the other way!
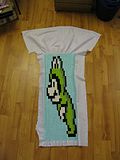
Remember how big he was before? This is how much it shrinks!!
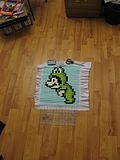
Trim the excess crap from the backing piece and give it a proper, clean looking, formal border.
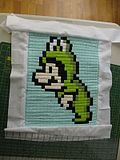
Before Stuffin'.
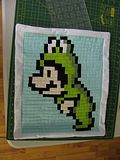
After Stuffin'!
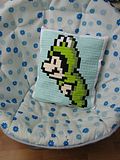
Et Voila! You now have a beautiful pixelated pillow!
I would LOVE LOVE LOVE to see photos of your project if you make one! It would make me super happy to know that I helped someone get inspired. :o)
Owl Family
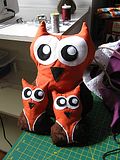
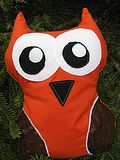
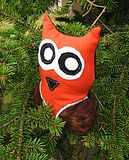
I made an owl mamma and a couple of babies from some scrap fabric I had. This was for someone as an extra surprise in a swap. They were sent with the pink circle skirt in the Friends of Craftster Raffle.
I actually really like how they came out! Owls are nice, not my favourite thing or whatever, but they seem to be soooo popular right now. I still like lil' lop-eared bunnies better, but to each his own! ;o)
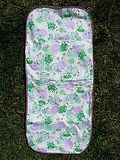
Mamma
Baby One
Baby Two
Hanging out havin' a hoot!
I actually really like how they came out! Owls are nice, not my favourite thing or whatever, but they seem to be soooo popular right now. I still like lil' lop-eared bunnies better, but to each his own! ;o)
Mamma
Baby One
Baby Two
Hanging out havin' a hoot!
Holy Upgrade-zies!
I've been so neglectful to my blog here. Truth is, it's because I've taken on so much stuff lately! My main thing of course, is planning the trip Kellie and I will be going on in September. Three weeks in Nepal baby, wooohoo!! She and I will be volunteering with Habitat for Humanity, alongside a team of other Canadians. Also, there will be about 500 people from all over the world coming at the same time! It's actually an international build! I couldn't be more excited. We will be staying on an extra five days after all that, just to sight see and experience some cool stuff. I'll deviate from my traditional 'craft blog' theme with a few pics or a video when we return.
Anywhoodle, I'm just going to do a massive upgrade of some of the smaller things I've been making. I'll make separate posts for significant items. I'll try and make your load time a happy experience for this loaded post. Click thumbnails to enlarge!
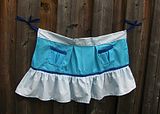
Cutsie Pie Blue Apron
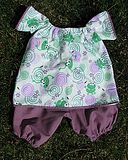
Frogy Baby Outfit
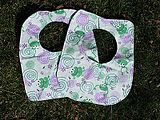
Frogy Baby Bibs & Burpee
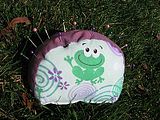
Frog Pin Cushion
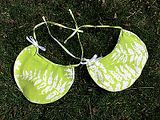
Green Baby Bibs & Burpee
Green Kids Tank
Heat Therapy Bag
Kids Summer Tank
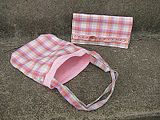
Pink Mini Purse and Wallet
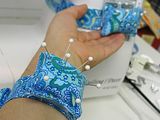
Wrist Pin Cushion & Machine Band Pin Cushion
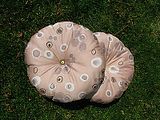
Pink Circle Cushions
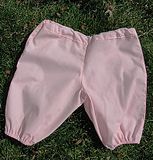
Baby Girl Pouffy-Pants
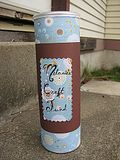
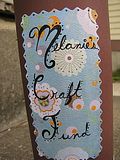
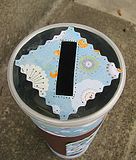
Coin Collector
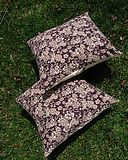
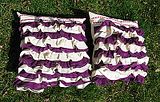
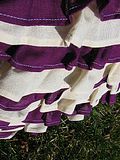
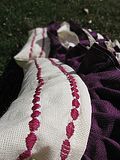
Purple Cushion Covers
Ruffle Cushions
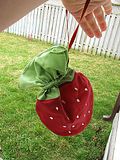
Strawberry Wristlet
Mario Invincibility Star Scarf
Subscribe to:
Posts (Atom)