Wednesday, January 20, 2010

Megaman Pillow Update

I've been FEATURED!!!! :oD

http://www.craftster.org/blog/?p=7028

I'm over the moon! I was so nervous to post this project, because there are so many talented quilters on that board I was afraid that I couldn't keep up. So I want to thank those who encouraged me, and all who hit "this rocks" to vote for my post! I'm so happy that you all love the megaman pillow I made my boyfriend for Christmas. :o)

This is my second time being featured. It's bringing me confidence that I should post more of my work on craftster, now that I know people enjoy it. Thanks!


Edit:

I was also featured on Geekcrafts! Holy cow!
http://geekcrafts.com/quilted-megaman-pillow/#comments

Saturday, January 16, 2010

Mega Man Quilted Pillow

I wanted to show some in progress pictures of the pillow I made my boyfriend, Alex, for Christmas.

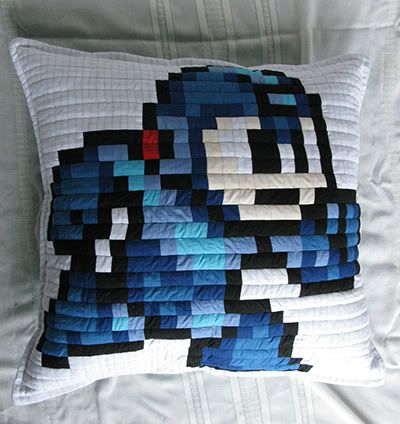
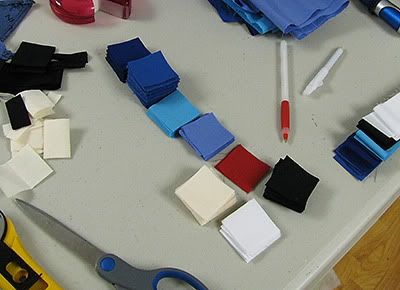
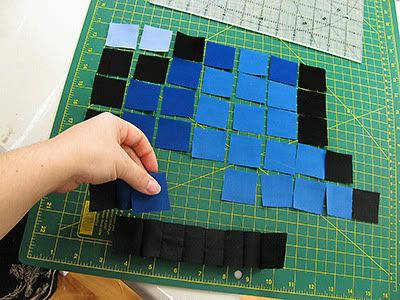
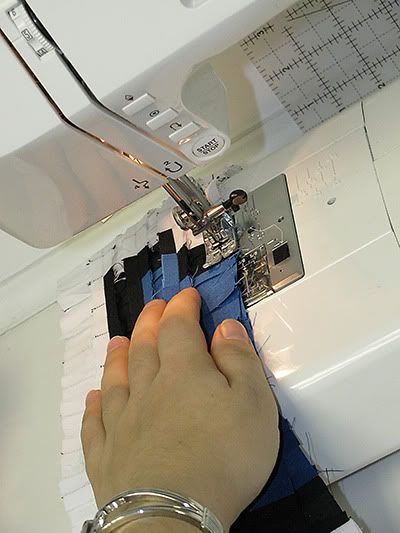
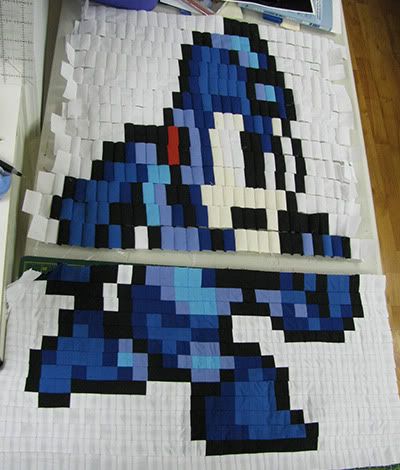
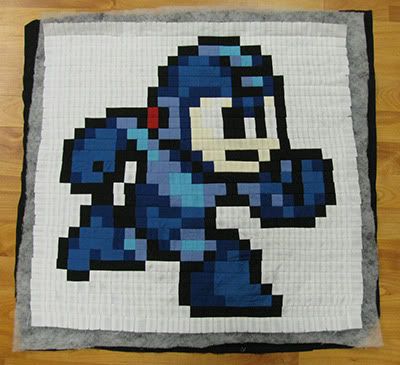
I put in around 25 hours work on it, and it all started from a little graphic the size of my pinkie nail. I blew it up in Photoshop, marked out a grid, broke the colours down into a guide, bought matching fabric, and cut enough squares to put him together pixel by pixel. I then quilted the top, made the back, stuffed&sewed it up and excitedly wrapped it in a ginormous box!

Finished Image:


Cut Squares:


Planning:


Putting together one row at a time:


Sewing them together:


Slowly putting together the completed rows:


Finished image before quilting:


Alex luvin it!

Friday, January 8, 2010

Bone Pillow Tutorial

My boyfriends' mum Deb recently borrowed a pillow I had made in sewing classes when I was a kid for a long car ride up north. Ever since the summer she has dropped little *cough* hints that she loves it and wants her own oh-so-very-much.

I'm a sucker for a fan.

So I had to try and remember how on earth I had made this thing. I came up with a pattern which is very close to what I had used back when I was 10. And I also decided that since it worked so well for her neck pain, that I'd share a tutorial so others can make bone pillows too!

So I have taken pics all along the way to show exactly how it works. And it's really not to hard for the sewer with a fair amount of basic experience. If there is anything confusing about the tutorial, leave a comment and I'll try to answer it or re-work what I've written to make it clearer for others too.

Enjoy!


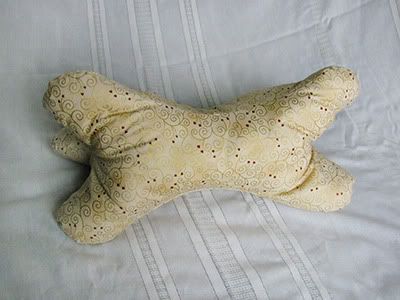
The Bone Pillow


Step One:
Fold a piece of pattern paper into quarters, and cut out a shape like this.
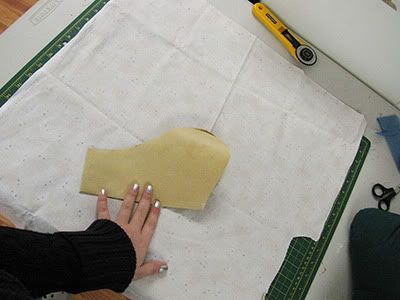

Step Two:
Unfold the paper and lay flat on fabric. It should be the shape of a dog bone. Cut three pieces of fabric from this shape.
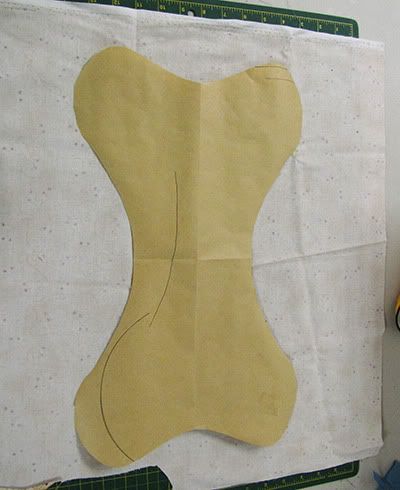

Step Three:
You now have three equally shaped pieces of fabric.
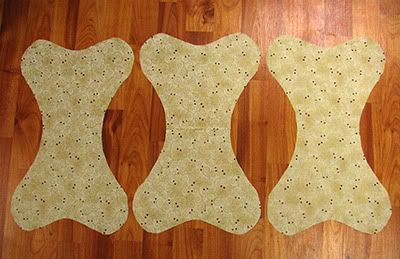

Step Four:
Take two of the pieces and place them print-sides together, so that your "ugly side" of the fabric is facing the table on the bottom piece, and up towards you on your top piece. Pin these together.
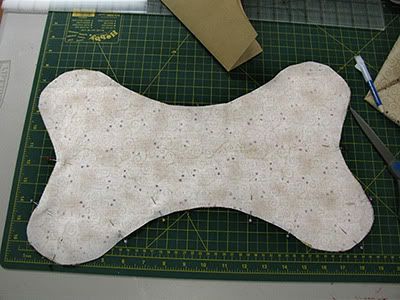

Step Five:
Take your pattern piece, fold it back into a quarter, and line up the edges to your fabric. Mark with a fabric marker the mid point of the bone's curve. Repeat to the other short side. This marks where you start sewing, and where you stop sewing. Using a 1/4 inch seam allowance, sew from one marking to the other. Make sure to back-stitch at the start and the stop. Leave the other half of the bone un-sewn at this step.
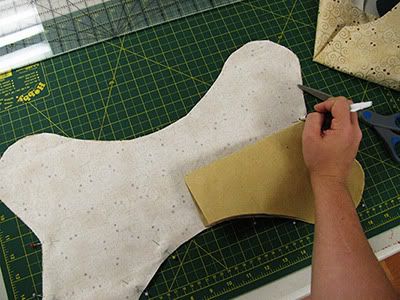

Step Six:
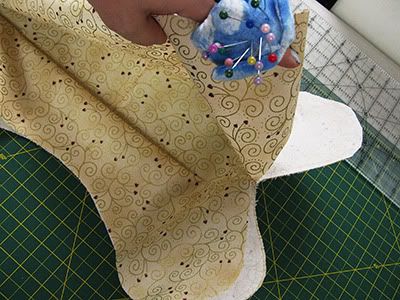
Leaving the bottom piece flat on the table, fold open the top pieces un-sewn half to reveal the "pretty sides" of the fabric. Take your third bone shaped fabric piece and lay it face down on top of the other two. On the side that has two layers, not four, pin together. Mark the mid point again, and sew along the area that you have pinned. Make sure to back-stitch at the start and stop, and make sure that the stitches at each end meet exactly at your previous start and stop from step five, or overlap slightly.
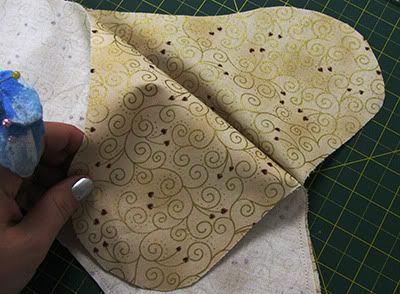


Step Seven:
Now place the two remaining un-sewn edges together. Pin. You are going to sew these two layers together as well, MAKING SURE that half way there, you leave a gap the size of your hand. This is important for when you are turning it right-side out.
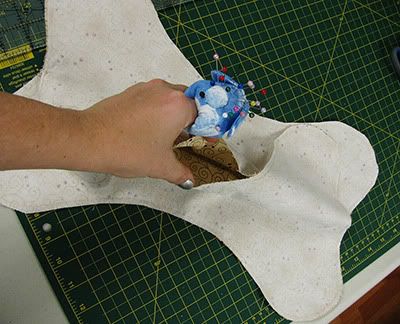

Step Eight:
Go around all of the edges and make tiny snips into the fabric, with extreme caution not to snip through your stitches. You should leave at least 3mm away from the stitches. You can space the cuts about an inch or two apart. The snips are important, because this helps your curves become smooth when stuffed. Other wise, you will see little dips where it is too tight when completed.
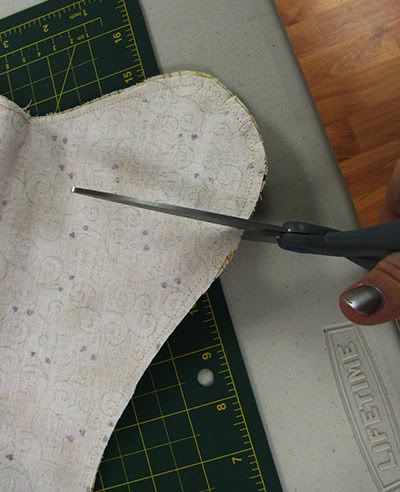

Step Nine:
Turn your bone pillow right side out. Stuff with polyfill, or whatever your preferred filler is.
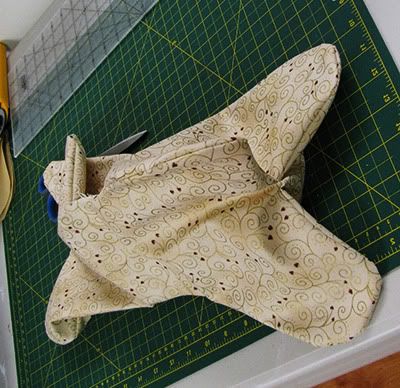

Step Ten:
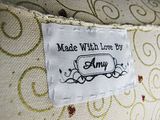
At the opening, turn in the raw edges to match the seams. Hand sew the opening shut using a whip-stitch. Hand sew on a label if you have one! (Taking opportunity to show of my new labels here! hehe.)
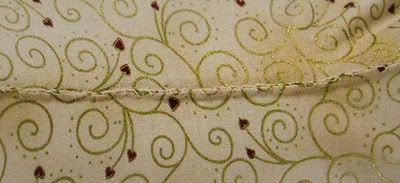


And there you have your bone pillow! Great for necks and backs during car rides, on the couch, or even camping!

Faux Fur Fears

I officially swear off of faux fur for a very VERY long time!!
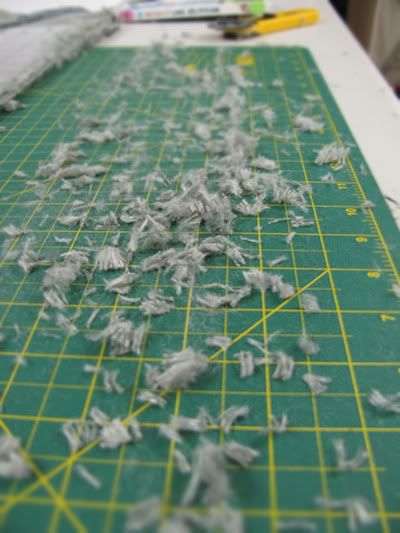
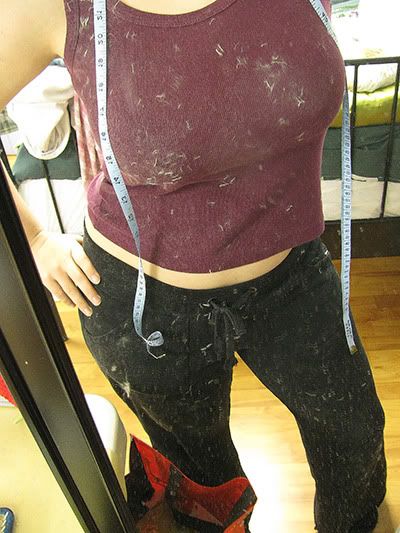
It got all over everything, including me! I was cutting it so that the edge of Cynthia's baby blanket would be nice and soft. It was such an awesome idea, until I realized the mess it would make!

Here it is all over the cutting mat:


And all over me:


And that's when... that's when it happened.

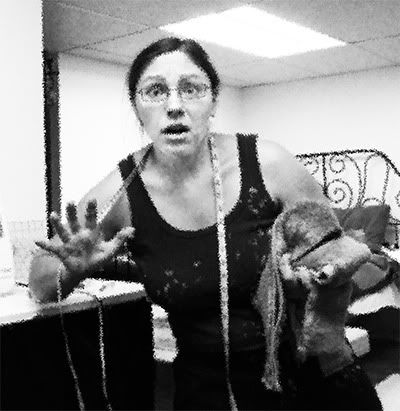
I noticed it growing. The fabric began to shake and spread! It was quickly becoming a monster AND THEN! ---


--- It consumed me ENTIRELY, and I became fur myself!


I am now infected, and spreading the faux fur virus to everything I touch! Oh the horror. The dreadful horror! AHHHHHHHHHH!!!!!!!!11!!!ONE ONE ONE!!!111

Run. Run for your life before it gets you too!

(Ps the blankie turned out awesome.)


Christmas Pressies!!!

Okay, since it's totally past Christmas now, I'm going to post pictures of all the presents I made this year! I'll post separately for any tutorials or in progress pics. This is more of an overview! ;o)

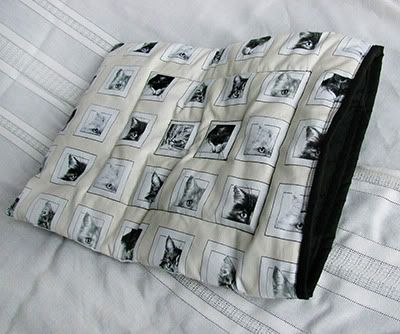
Heating Pad Cover - Mum


Jingle Bells Banner - Mum


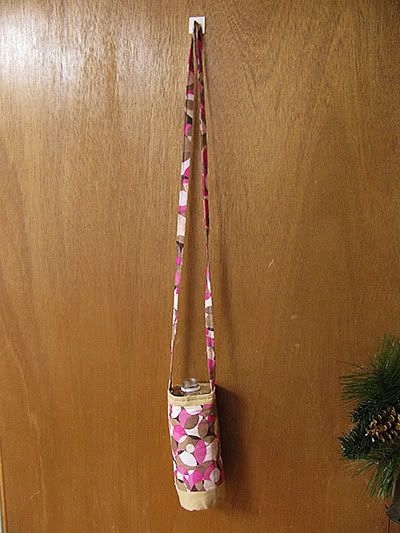
Water Bottle Cozy (In blue, this pink one was a trial of the pattern before my dads, I gave it to my gym-class instructor) - Dad


I also made Dad some Candy Jars, I need to photograph them still.

Gnome Quilt Square - Graham (My boyfriends father)


Bone Pillow - Deborah (My boyfriends mum)


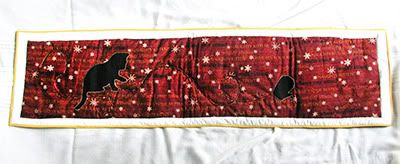
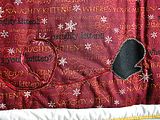
Naughty Kitten Table Runner - Jim and Doris (My boyfriends Grandparents)


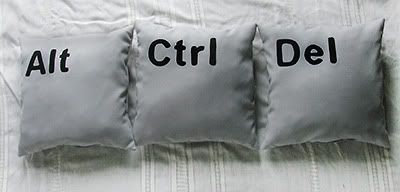
Alt Ctrl Del Keys Pillows - Jeremy (My boyfriends brother)


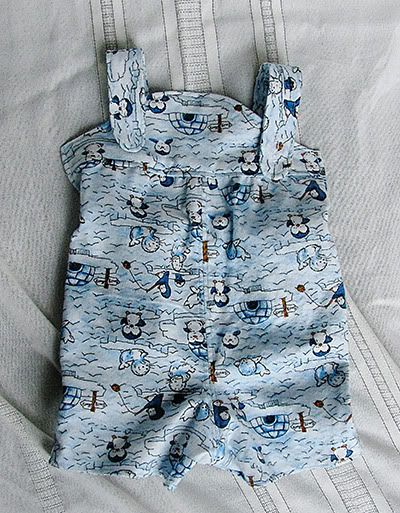
Baby Overalls and Baby Quilt - Cynthia (My boyfriends Cousin)


Baby Fat-Pants and Booties - My friend Vanessa (Technically this is for her shower that I couldn't attend)


Snow Man Table Runner - One for my parents best friends (like family) Reg and Phyllis. Also one for my Aunt Trish/Uncle Paul whom I visited. I also made another in a similar style for Reg and Phyllis' daughter Deborah. It used a light blue star fabric. Unfortunately it has no photo. :o(


And my huuuuge project this year, taking well over 25 hours, is.... *drum roll*

Quilted Pixelated Megaman Pillow - For my love, Alex.

Monday, December 21, 2009

Extra Extra Update of Thomas and his Blankie

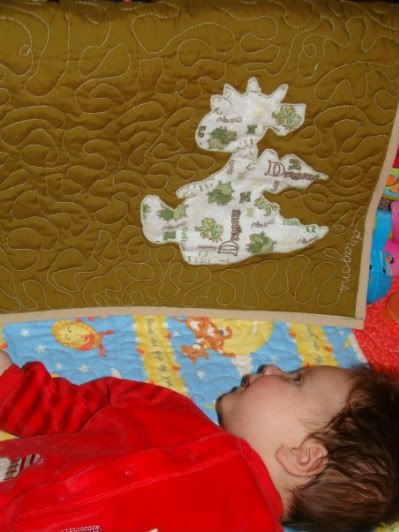
I'm sorry, I can't help but post some shameless extra pictures of Thomas and the blankie I made him. I love that I have a tiny little fan!! I rarely get pictures of people using or holding up what I made for them, so it's totally cool to see it here.

Vanessa tells me that he focuses on the dragon applique I put on it all the time. I love this kid, ain't he perfect? He's going to have his fathers sense of humour and his mothers graceful kindness. Luv him already.

Wednesday, December 16, 2009

Peanutbutter Balls

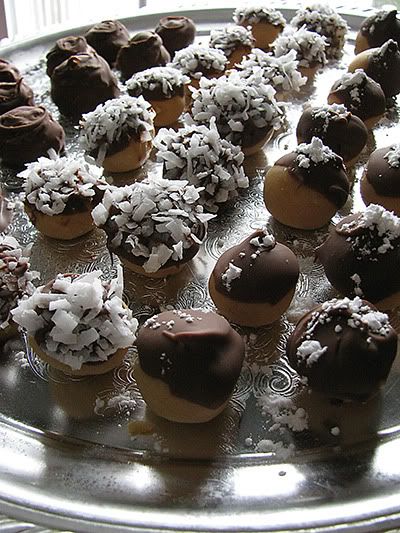
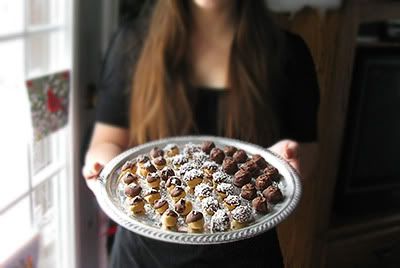
Mmmmmm, these are so inexpensive, so easy, but look so rich! Woot! I've included the recipe that was written, and a link to where I found it at the bottom! Try them, you'll love them!


You’ll need:
1/2 c. peanut butter
3 T. butter (or ‘margarine’) slightly softened
1 1/2 c. powdered (confectioner’s) sugar
1 c. chocolate chips (I used milk chocolate & use more if you want to cover the ‘buckeyes’ completely)

Makes 2 dozen (24) 1″ +/- round candies.


Combine butter and sugar (I used a fork to ‘cut’ it in, but I’m sure a hand mixer would work a LOT better/quicker)
Add peanut butter and mix to combine.

Roll mixture into balls and place on a cookie sheet (on a piece of wax paper or foil.)

Refrigerate for 30 minutes, then place in freezer for 15-30 minutes - or longer if you’ve got things to do, etc. They’ll be fine.

When you’re ready to coat them, melt the chocolate in a double boiler or microwave (you’ll have to reheat it a couple times if you use the microwave.)

If you like, dunk in coconut or sprinkle powdered sugar on top to make it pretty.

Retrieve the now hardened peanut butter balls, stick a toothpick in and dip into the chocolate - halfway or all the way, the choice is yours. Place on the same cookie sheet and continue until they’re all done. Once they’re dipped/covered, it’s back into the fridge for 15-30 minutes and then they’re ready to go devour!


Recipe From: Here

Bon Apetit! ;o)